

[ad_1]

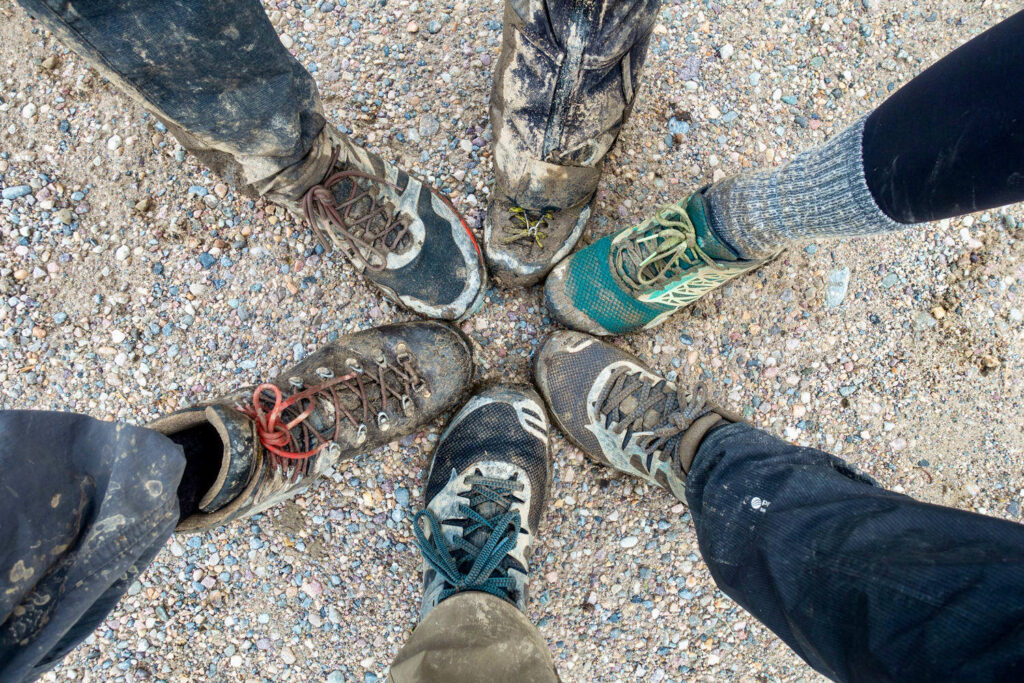
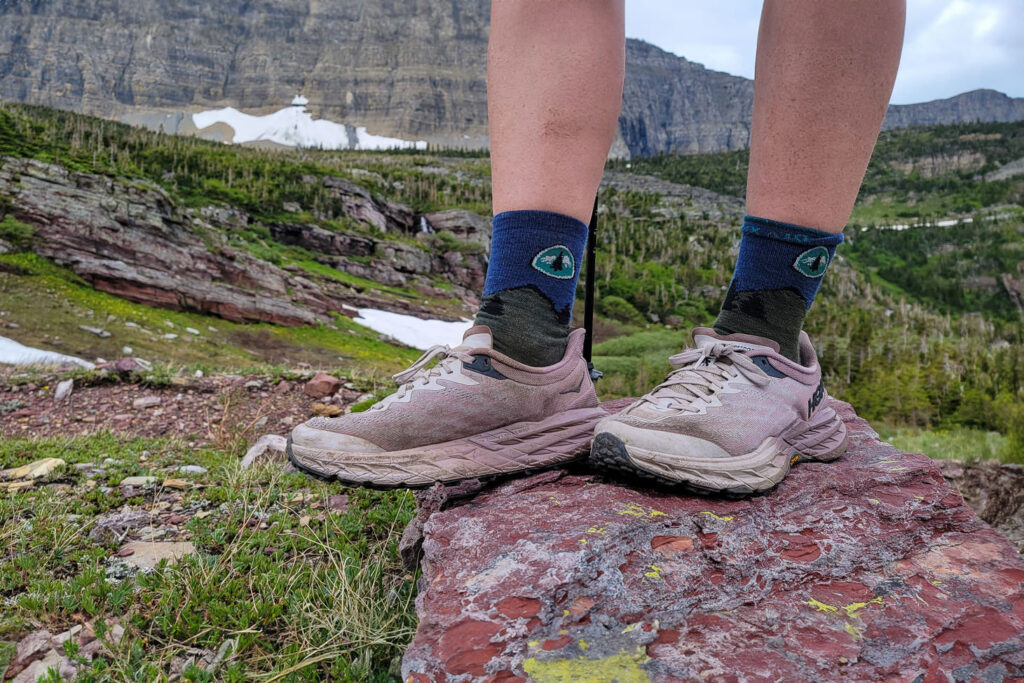
Conserving outside gear clear isn’t at all times handy, and muddy climbing sneakers are sometimes the very last thing we wish to wash. Nonetheless, anybody who’s needed to pull on a pair of crusty boots is aware of that a bit upkeep goes a great distance.
Just a few quick and easy steps can prolong the lifetime of your boots and assure they’re prepared for any journey. On this information, we stroll you thru tips on how to care for your footwear – so your footwear can care for you.
Why Clear Mountain climbing Sneakers & Boots?
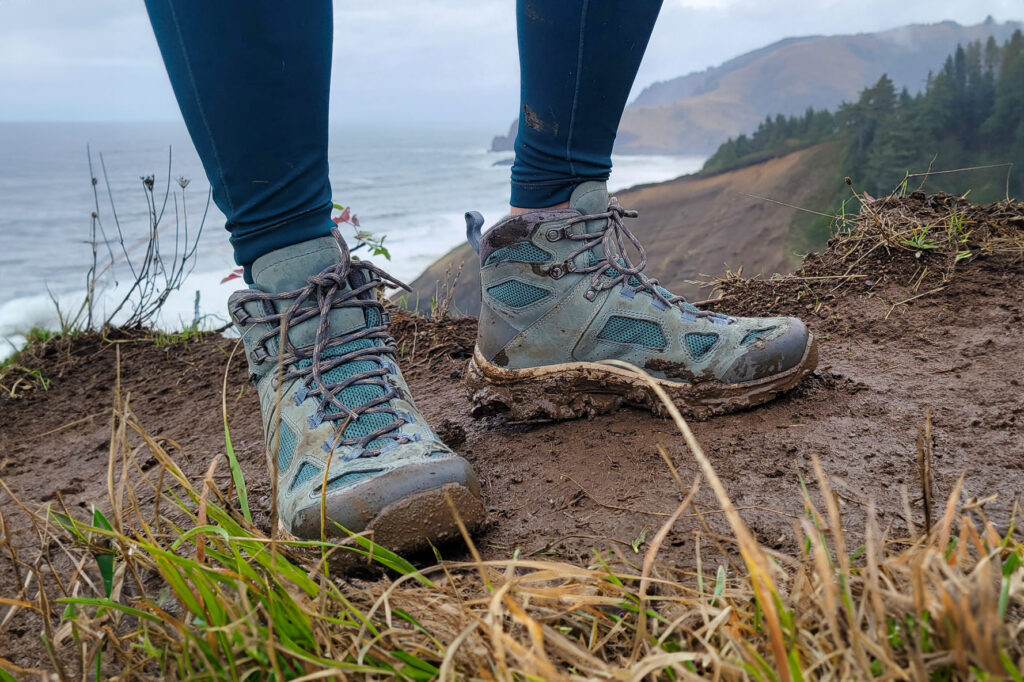
Identical to you would possibly wish to clear off after an extended hike, your boots and sneakers additionally require common cleansing and care. Over time grime, mud, and moisture can infiltrate susceptible threading, seams alongside the only real, and the material of the uppers. These particles speed up the damage and tear in your boots and can finally break down the shoe development. Nonetheless, routine upkeep can sluggish and stop harm.
Clear sneakers imply a extra comfy and wholesome surroundings to your toes. Constant cleansing prevents the expansion of micro organism and retains your sneakers dry and odor-free. Even in a climbing tradition that wears grime and sweat as a badge of honor, there’s no glory in moist, filthy, or tremendous smelly sneakers.
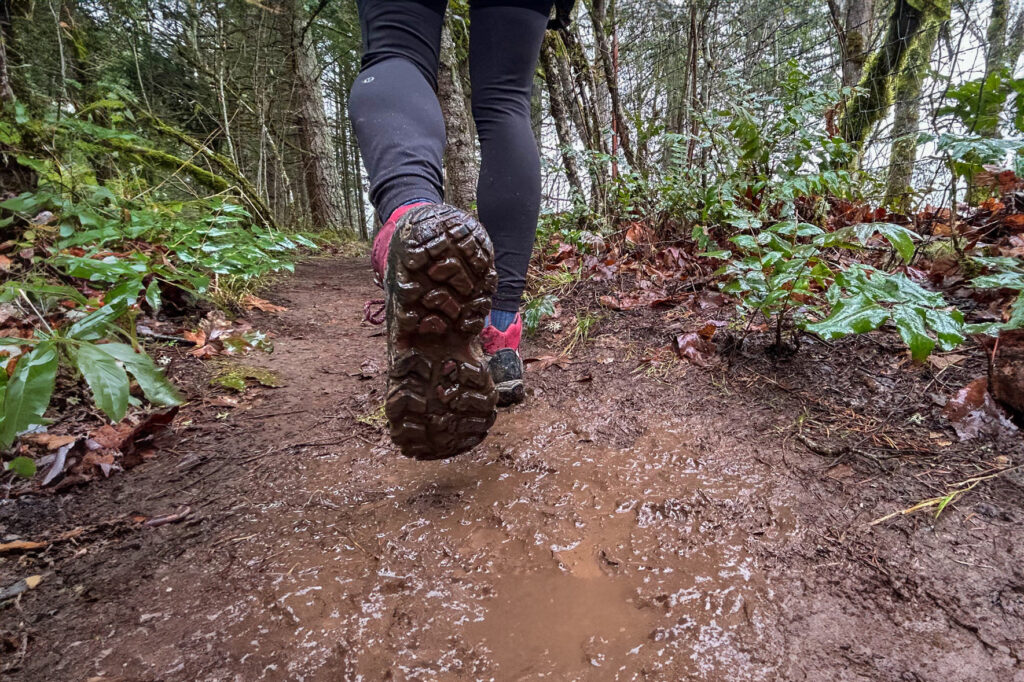
A clear shoe can simply flex, breathe, and transfer together with your foot the best way it was designed, as an alternative of preventing towards caked particles. As well as, clear sneakers have higher grip. Mud-covered soles scale back traction and enhance the danger of slips and falls. Over time, lingering gravel, grime, and sand can passively destroy the lug sample by degrading the rubber.
Do I Want To Wash My Mountain climbing Sneakers or Boots?
The reply is: most likely! Listed below are methods to inform if it’s time to wash your footwear.
- Seasonal – We suggest a deep clear of your climbing boots or sneakers at the very least twice a yr for average use and a couple of to three instances a month for a pair in heavy rotation. In the event you put on the identical boots a number of instances per week by means of a climbing season, it’s been greater than 30 days, or you possibly can’t keep in mind once they have been final cleaned, time is up.
- Filth – If any a part of your sneakers or boots are nonetheless caked with final weekend’s romp by means of the woods and you may nonetheless see apparent grime, gravel, sand, or different particles, a lightweight cleansing won’t lower it.
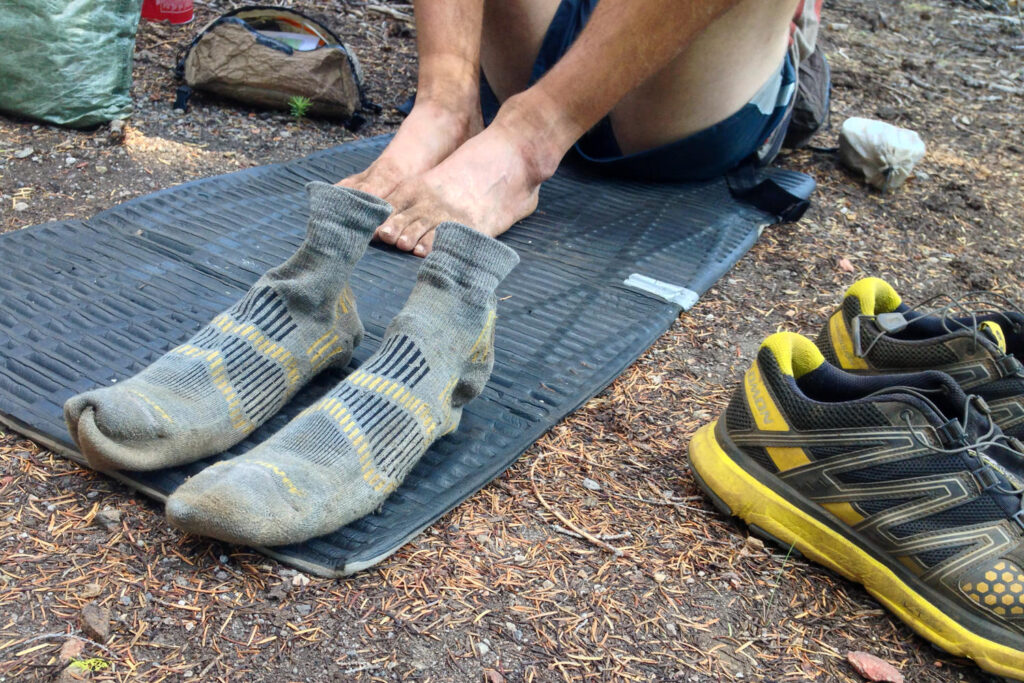
- Odor – Each leather-based and artificial supplies harbor odor-causing micro organism, particularly as soon as they’re moist. Moisture, whether or not it’s from sweat, a river crossing, or a shock thunderstorm, could cause the froth and material to reek. Don’t ignore that funky scent.
- Climate – How usually you clear your footwear relies on the time of yr and the season while you’re most energetic:
- Summer season – The warmth of summer time usually means sweatier toes and stinkier sneakers. A low-maintenance spot clear with cleaning soap and water, wiping your sneakers clear, and utilizing odor-eliminating ways (like baking soda) could also be all that’s wanted.
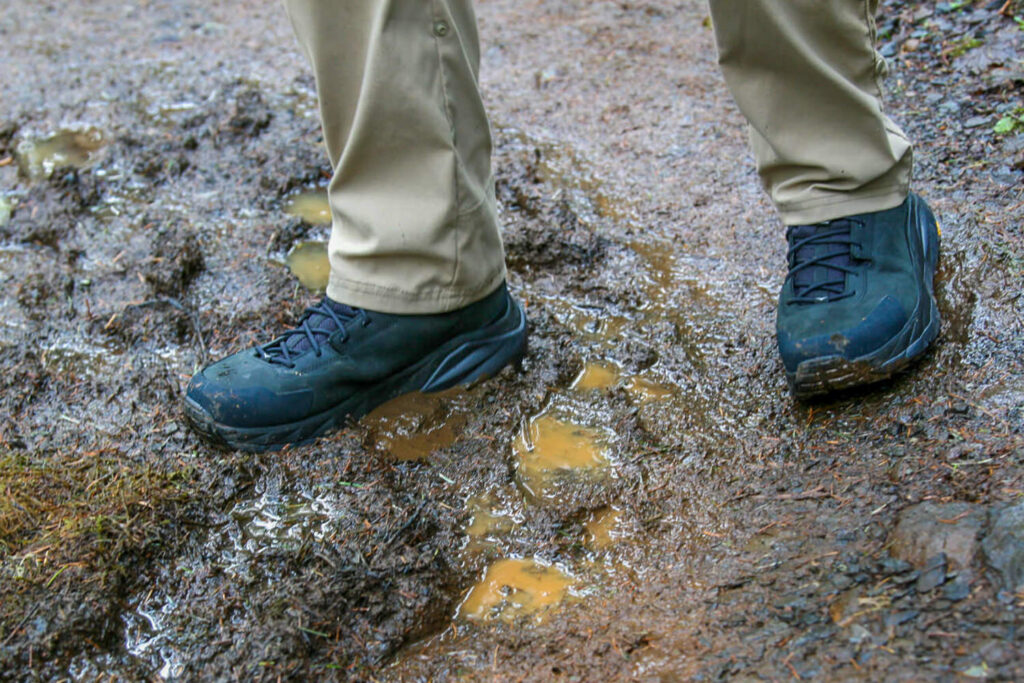
- Spring and Fall – In shoulder seasons, you’re prone to encounter all situations together with rain, snow, and dust, making for messier sneakers and common cleansing. Whereas it’s unreasonable to wash your sneakers each time they get moist, spring and fall hikes require giving your sneakers extra consideration. We suggest a deeper clear after actually muddy or mucky adventures, and a spot cleansing as wanted after wet or moist hikes.
- Winter – Moist, chilly, and snowy hikes require aware cleansing habits. Mountain climbing in winter usually means your footwear can be chilly and moist. For artificial gear, take waterproofing steps and be certain your boots are totally dry earlier than storing. For leather-based uppers, meaning constant reapplication of conditioner and waterproof sprays as usually as wanted to maintain leather-based robust and moisturized.
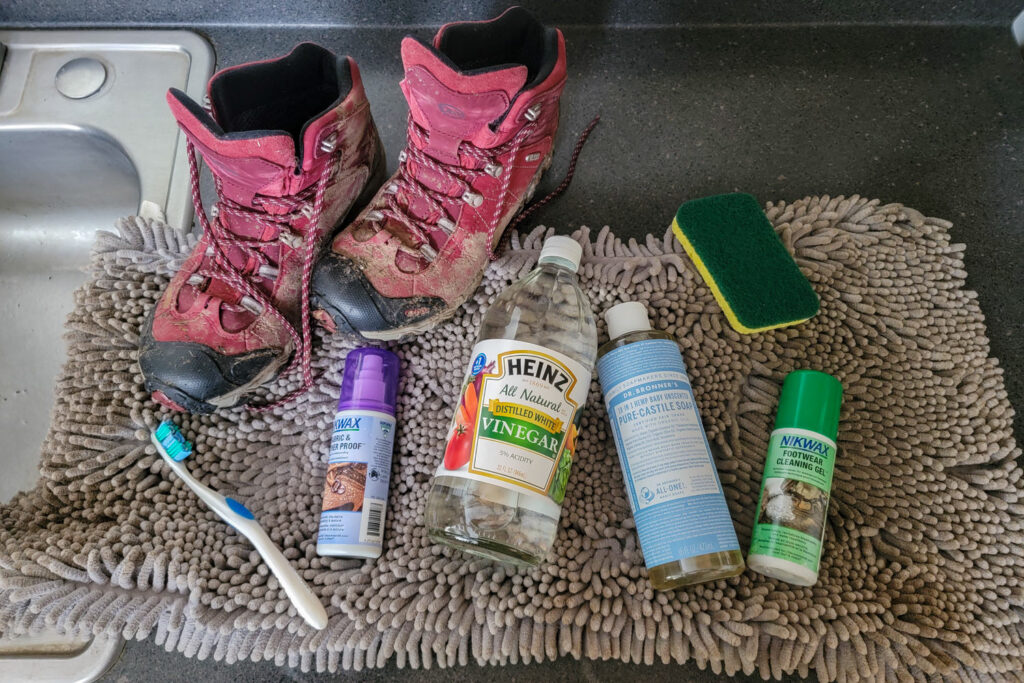
Supplies Wanted
You want just a few gadgets to maintain your climbing footwear in tip-top form:
- Clear water – Water from a clear family supply.
- Delicate cleaning soap – Keep away from “common” bar soaps, hand soaps, and detergents with heavy fragrances and dyes. These merchandise can stain, strip, and harm the membranes in leather-based and artificial supplies. We suggest an unscented, non-detergent, delicate dish cleaning soap like Daybreak Cleaning soap Free & Clear or a primary castile cleaning soap like Dr. Bronners Unscented.
- Vinegar – Diluted with water to take away stains and get rid of smells.
- Footwear-specific cleaners – There are wonderful merchandise made for cleansing each leather-based and artificial choices. Relying on the shoe materials, you could want greater than only a cleaner.
- Bucket – A sink, bucket, or any container to combine water and cleaning soap.
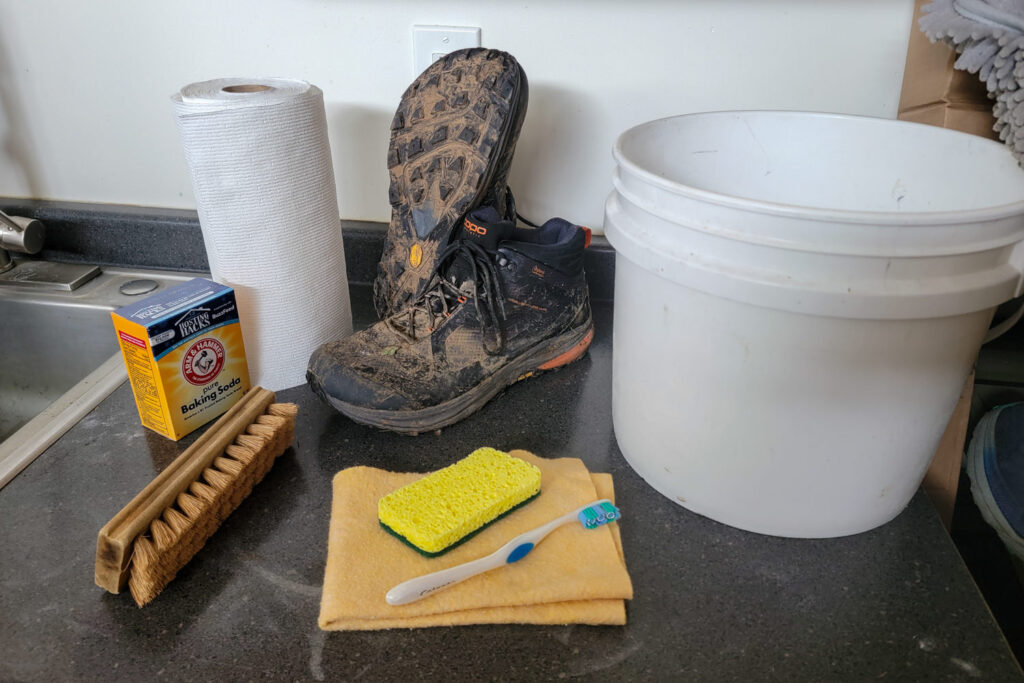
- Cleansing instruments:
- Toothbrush – An previous toothbrush to wash small crevices and particulars.
- Comfortable Bristle Brush – A big brush to clean materials with out damaging it.
- Clear material or sponge – To wipe the floor of the shoe.
- Drying instruments:
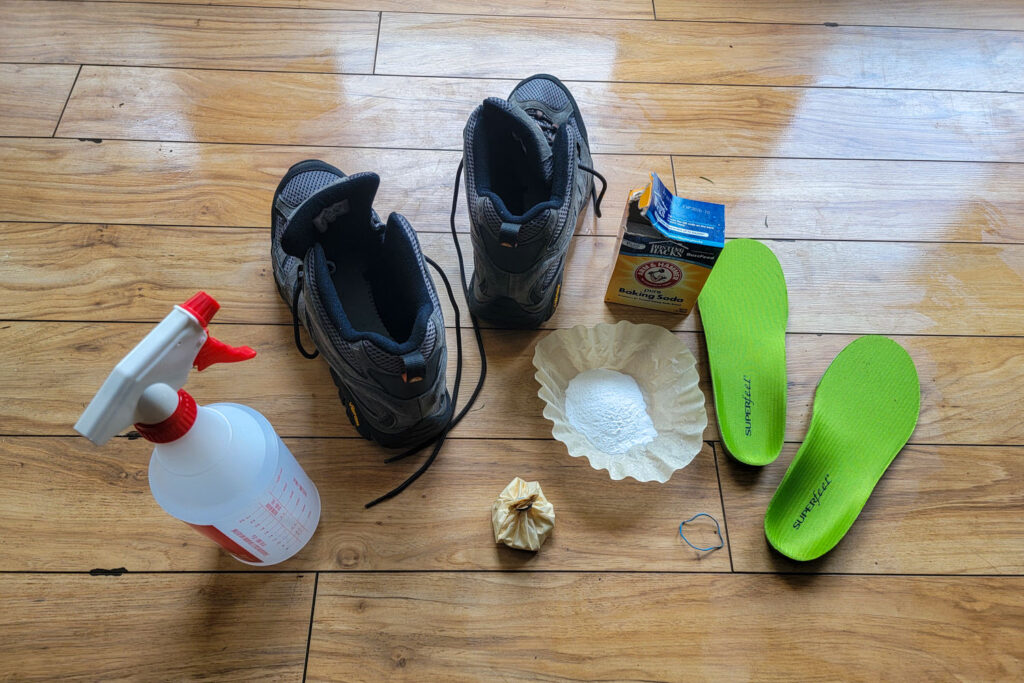
- Baking Soda – Useful in absorbing and neutralizing odors.
- Paper Towels – Place inside moist sneakers to soak up extra moisture.
- Shoe Timber – Maintains the form of trainers or sneakers and holds footwear open as they dry.
- Shoe / Boot Dryer or Fan – Hurries up the drying course of and cuts drying time in half.
Spot Cleansing Mountain climbing Sneakers & Boots
Generally all of your climbing sneakers or boots want is an attentive spot clear. In the event you’re crunched for time otherwise you’re simply between hikes, a lightweight cleansing is a quick strategy to refresh your boots.
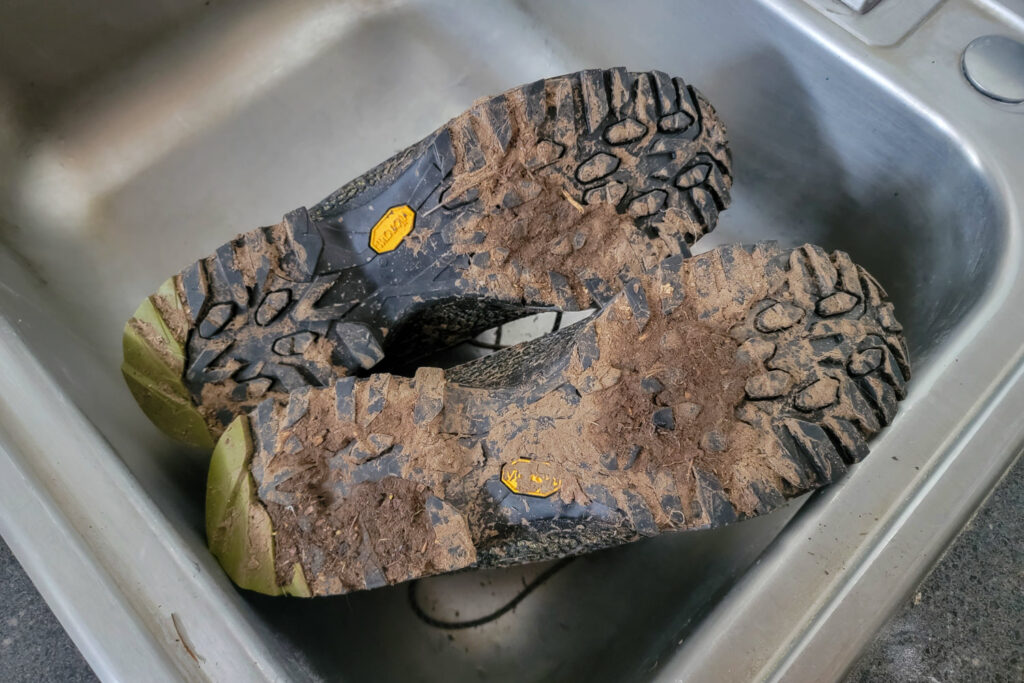
- Examine – After each hike, look over extremely dirty areas externally just like the outsole, sides, and higher for notable grime or harm.
- Knock off – Take away any massive quantities of caked or clumped grime, gravel, or apparent particles with fingers or a dry brush.
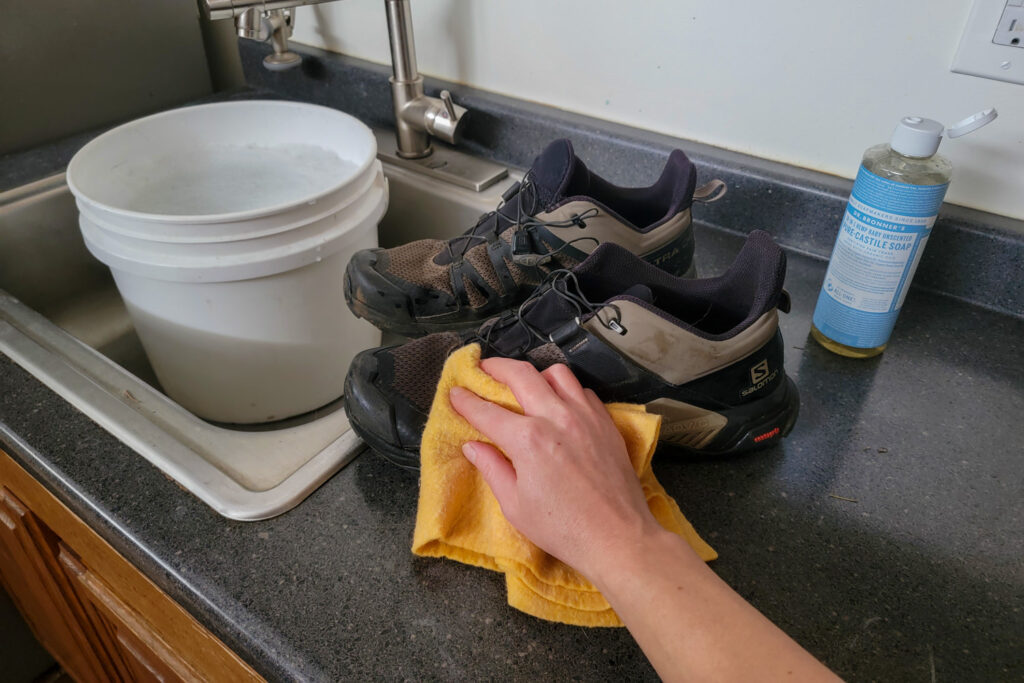
- Spot clear – Fill a bucket with 5 components water to 1 half cleaning soap. For an efficient small-area cleansing on the surface of the shoe, soak a clear material or sponge then gently scrub the shoe till all dirty areas are lathered and cleaned.
- Brush – Subsequent, use a soft-bristle brush or a toothbrush to work the cleaning soap into the affected space.
- Spot rinse – Utilizing heat water, clear the soapy areas. Be sure that all cleaning soap is eliminated.
- Air dry– Loosen the laces, take away the insole, open the sneakers, and depart the pair in a heat, dry place to air out earlier than storing. Think about using a fan or shoe dryer to hurry up the method. This will take wherever from 12 to 72 hours.
- Combat the stink – It is a useful step for any lingering scents. Combine 1 half water to 1 half vinegar and frivolously spray the inside of the shoe. Or, place just a few tablespoons of baking soda in a muslin bag, previous sock, or espresso filters to go away within the shoe till they’re dry. The baking soda will take in lingering smells and take in extra moisture.


Deep Cleansing Mountain climbing Sneakers & Boots
Completely different materials require barely completely different cleansing steps. Realizing what your climbing boot is constituted of may also help inform how, and the way usually, you’ll want to wash your footwear. To search out the composition of your shoe, have a look at the within of the higher tongue or hop onto the producer’s web site. Be sure that to comply with any warnings or guidelines about cleansing your footwear.
To revitalize your favourite boots, comply with these steps. This cleansing course of will work for many climbing sneakers and boots together with leather-based or artificial uppers, waterproof and Gore-Tex supplies, and insulated boots.
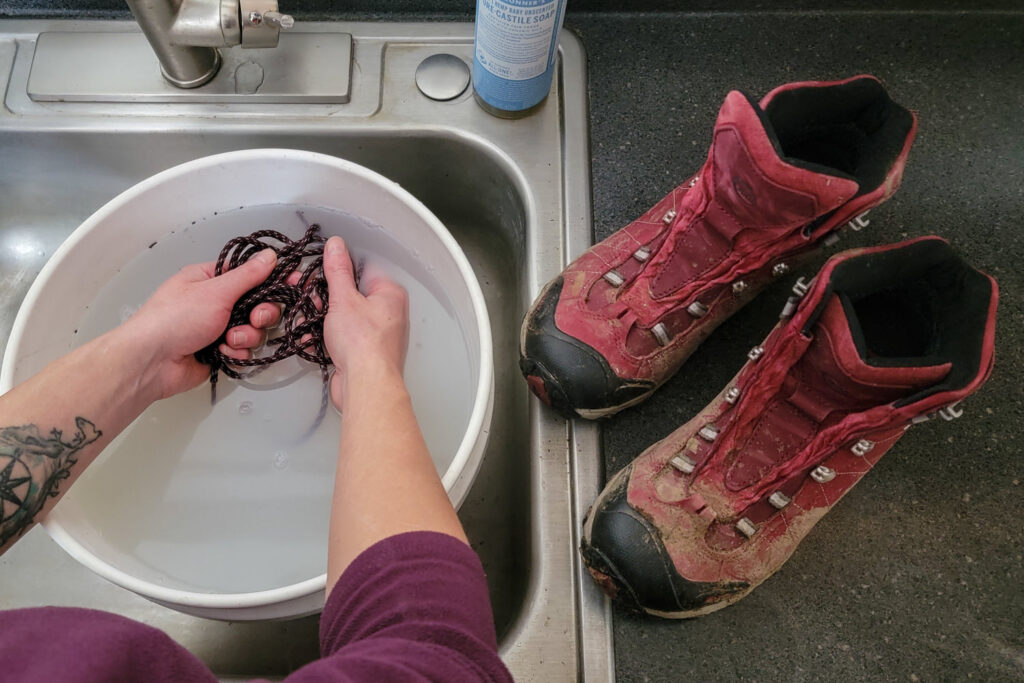
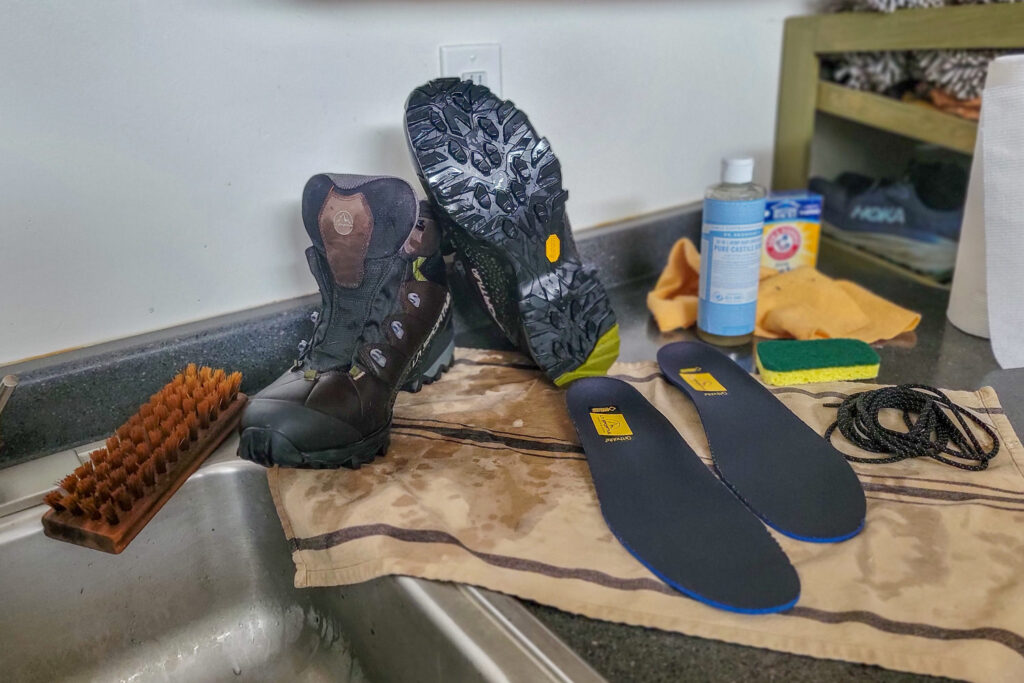
- Put together your footwear – Begin by knocking off any seen dried or unfastened particles and grime. Subsequent, take away the insoles and laces from each sneakers, so you possibly can clear each nook and cranny.
- Cleansing laces and insoles – Most shoe laces and insoles could be washed with delicate cleaning soap and water.
- Rinse – Maintain each insoles and laces below a stream of water to take away main particles and apparent grime.
- Wipe – Wipe down the laces with a lukewarm, moist, soapy material. Do the identical with insoles.
- Soak – Soak laces and insoles for five to 10 minutes in a bucket or container of heat, soapy water.
- Rinse once more – Run soles and laces below water to take away all cleaning soap and cleaning soap residue.
- Vinegar spritz– We suggest a mixture of 4 components water to 1 half vinegar to de-stink your shoe sole. Spray this answer throughout the highest of the insole to stop smells and kill any lingering micro organism.
- Dry – Place insoles and laces on a dry material to air-dry. By no means use a warmth supply to hurry up the drying course of and permit them to dry utterly.
- Cleansing the surface
- Water – Moist down your entire shoe or boot with a sponge or material. Actually soiled sneakers would possibly want a hose, however normally, a bucket of heat water or a faucet over a big sink is sufficient.
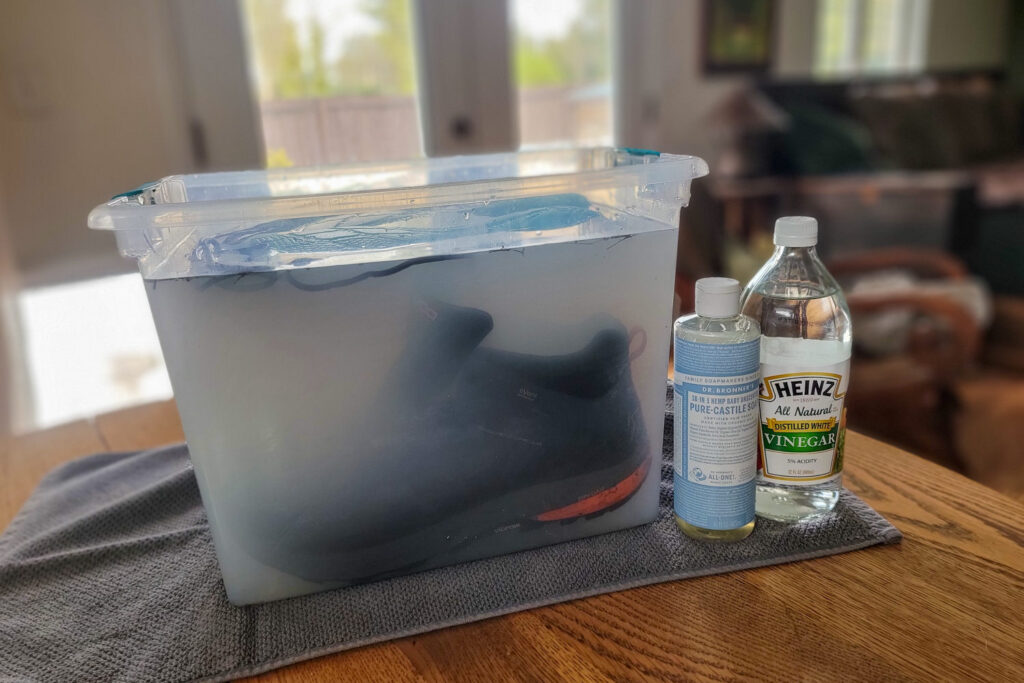
- Soak – For particularly gnarly instances, contemplate leaving your climbing boots or sneakers totally submerged in a bucket of heat water to soak for 10-Quarter-hour. The water will break down the muck and penetrate the shoe, making it simpler to wash. When time is up, take a soft-bristle brush and scrub the surface of the shoe to loosen any grime. Empty the bucket and refill it. Repeat this soaking course of till the water stays principally clear.
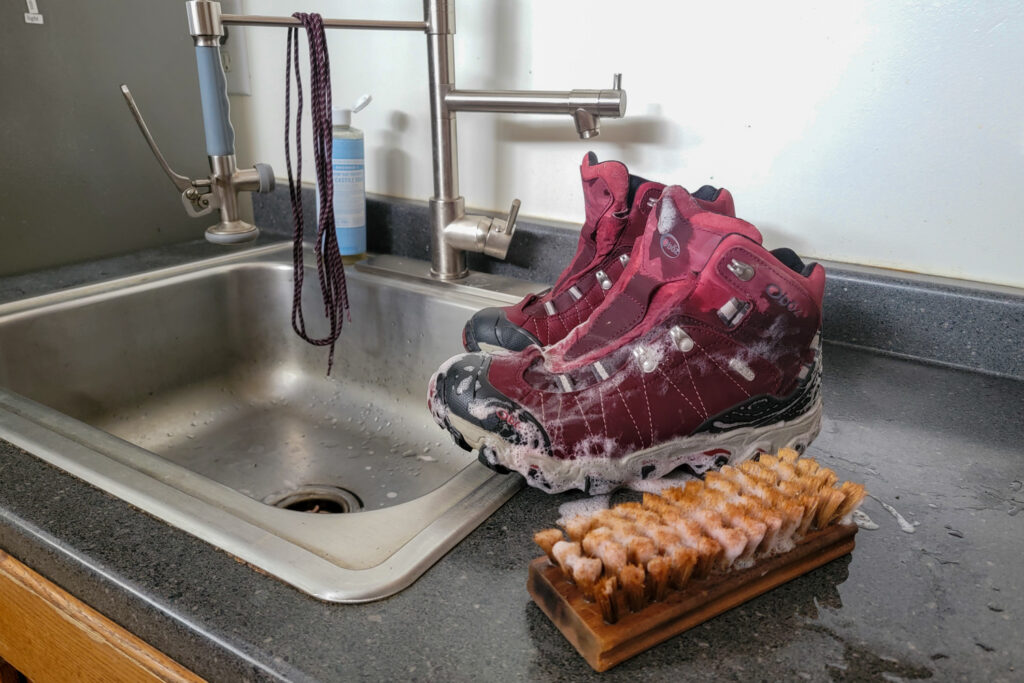
- Cleaning soap and water – In the event you’re utilizing cleaning soap, combine 1 half delicate dish cleaning soap or castile cleaning soap with 5 components water. Utilizing a clear material or sponge, gently wash the only real and the higher of the boot. Give further consideration to high-use areas inclined to break from grime buildup just like the seam of the soles, the toe cap, and across the lace eyelets. Cleaning soap up your entire shoe from backside to prime, working your approach round each a part of the shoe till it’s foamy to the collar of the shoe.
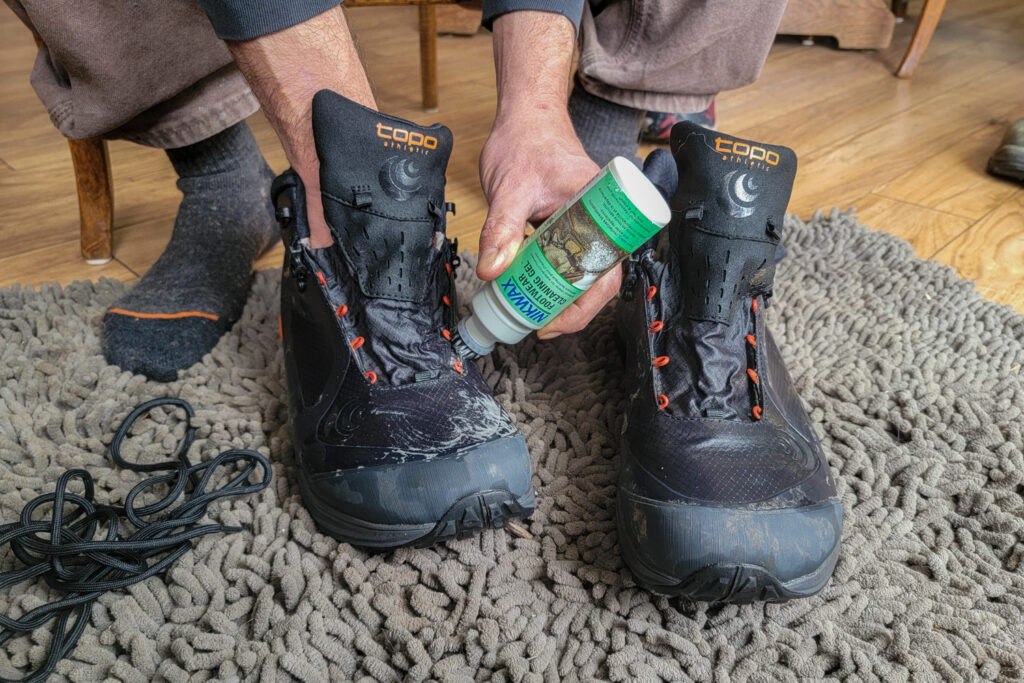
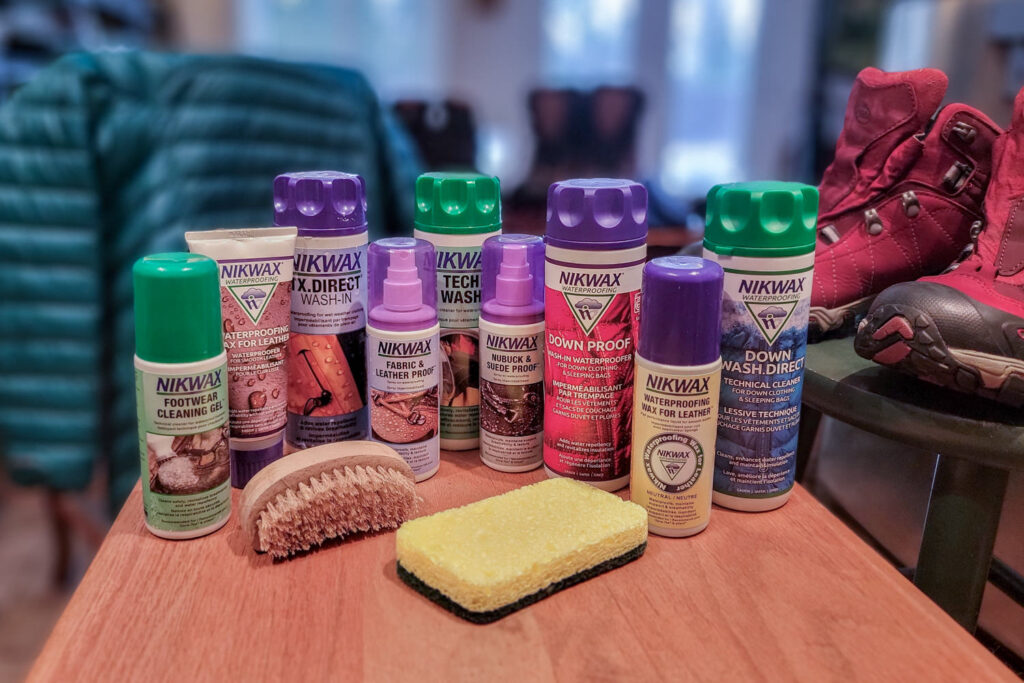
- Cleansing gels and sprays – In the event you’re utilizing a cleansing gel or spray, open the product and comply with the instructions on the label. Within the case of Nikwax Footwear Cleansing Gel open the cap, break the seal, and apply the bottle instantly onto the footwear. The bottle distributes cleansing answer with stress, and bristles across the rim can be utilized to wash the boot instantly. For sprays, douse the higher and outsole of the shoe and use a sponge or damp material to therapeutic massage the answer into the shoe.
- Brush – With the cleaning soap or cleansing gel nonetheless on the shoe, dampen a big, soft-bristle brush and apply it to the sudsy exterior of the boot. Transferring in small circles, work across the complete shoe, together with the only real. The objective is to wash each seam, fold, and overlay on the shoe. For small areas just like the lacing eyelets and tongue, use a toothbrush to take away grime.
- Rinse – As soon as the surface of the shoe is roofed in cleansing answer, rinse it off. You may totally submerge the climbing boot or shoe in water to make sure cleaning soap is faraway from each seam. Keep away from leaving any cleaning soap that might dry out or harm the fabric.
- Cleansing the within – The within of most climbing sneakers or boots is a gentle materials lining the higher, hooked up to a tricky midsole. To scrub it:
- Fabric – Use a moist, gentle material. Keep away from brushes to stop harm to the gentle inner material.
- No cleaning soap – We don’t suggest cleaning soap as a result of it may be tough to take away, and would possibly linger within the absorbent inside material. Use solely water or a water/vinegar answer as an alternative.
- Vinegar – For further smell-reducing energy, we suggest a mixture of 4 components water to 1 half vinegar. Use this as the first answer to wash the within of the climbing shoe or boot.
- Hand-clean – Making use of stress, dab and wipe the inside of the shoe in a round movement, shifting from toe to heel. Methodically wipe down your entire inside the shoe with the material.
- Insulated boots – Insulated boots usually have an extra liner to retain physique warmth. We suggest eradicating and soaking this liner in a cleaning soap and water answer like in step 2b and drying it individually from the remainder of the boot earlier than changing. In any other case, you possibly can comply with the identical steps as above to wash even your heaviest winter boots.
- Stain and mildew removing – Had been your sneakers saved moist and have mildew harm? Are they coated in cussed oil or grass stains, grime, or scuff marks? Vinegar is the reply. Vinegar is delicate on most materials, kills mildew spores, and if it doesn’t take away the harm from a stain, it would seemingly lighten any discoloration. This answer is secure for each leather-based and artificial sneakers.
- Combine – We suggest a mix of 4 components water to 1 half vinegar.
- Clear – Utilizing a gentle material or brush, work the vinegar answer deep into the material of the outsole the place the stain or mildew is. Repeat till the realm is completely soaked. Let sit for five minutes.
- Repeat – Repeat 2-3 instances.
- Rinse – Wash the answer off with water. Be sure that vinegar is faraway from the fabric.
- Leather-based conditioning – When you’ve got leather-based boots, this step is for you. When you’ve got artificial boots, transfer to step 8.
Conditioning is a should to ensure your leather-based boots keep comfortable, trendy, and useful. Over time, the pure oils within the leather-based dry out. Dry leather-based turns into brittle and stiff. It will definitely cracks and splits whereas supple, hydrated leather-based stays sturdy and waterproof for years.
Remember to apply leather-based conditioner instantly after cleansing. Your boots ought to nonetheless be moist from washing. We suggest Nikwax Liquid Conditioner For Leather-based. Like the opposite merchandise within the Nikwax line, open the cap, break the seal, and apply the bottle like an outsized glue stick. Be sure that to cowl all components of the leather-based. Give the conditioner 2 to three hours to soak in, then transfer on to the following step.
- Waterproofing – The extra you employ waterproof boots, the extra usually you’ll have to repeat this course of – particularly in moist situations. Observe that not all climbing boots and sneakers want waterproofing, so be sure you test producer care suggestions earlier than including any product to your sneakers. Waterproofing your sneakers is quick, simple, and the final step earlier than drying.
- Artificial, Hybrid, and Leather-based – We suggest a catch-all product like Nikwax Cloth and Leather-based Waterproofing Spray. Open the cap and spray the bottle instantly onto footwear. You’ll wish to cowl the higher of your shoe or boot. Make sure the combination reaches all seams and corners.
- Leather-based – For all-leather uppers, we desire Nikwax Waterproofing Wax For Leather-based. This liquid wax is massaged into the leather-based and creates a strong protect that helps your leather-based boots resist the weather and last more.
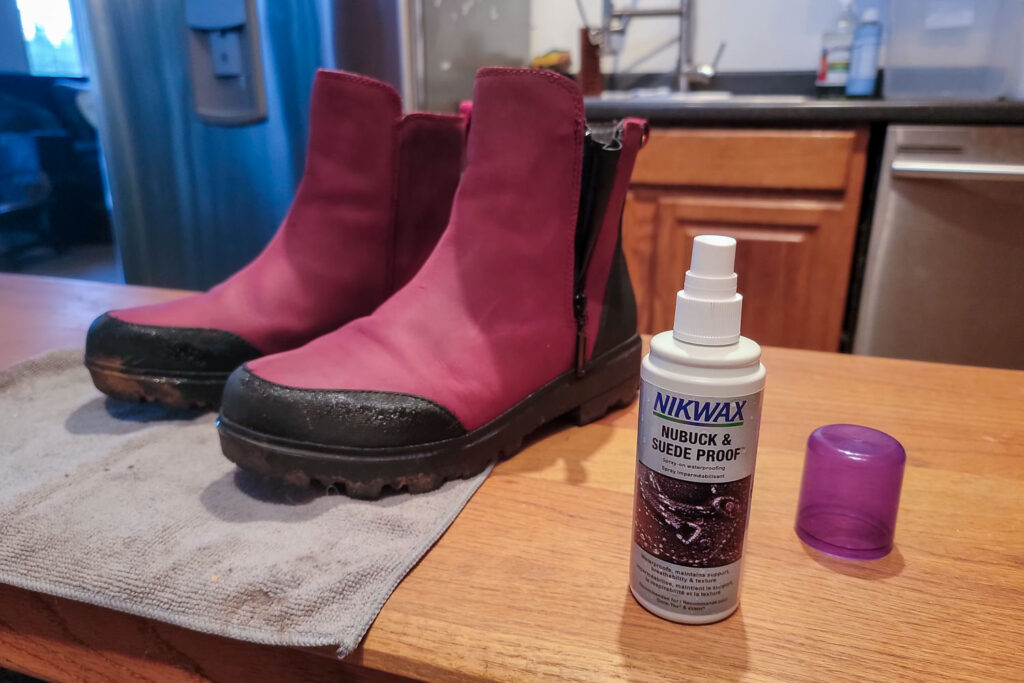
- Nubuck or Suede – Nubuck leather-based is extra reasonably priced than full grain leather-based, however significantly extra fragile. Like suede, Nubuck’s nice texture, skinny membrane, and gentle really feel make it extra vulnerable to stains, water harm, and discoloration than artificial or full-grain leather-based options. Nonetheless, it’s not unusual for these supplies for use on high-end sneakers. For Nubuck leather-based or suede, contemplate Nikwax Nubuck and Suede Waterproofing Spray for an additional layer of safety.
Drying Your Mountain climbing Footwear
Permitting your boots to dry out utterly provides longevity and freshness to your subsequent journey. Storing moist sneakers can result in everlasting harm and chronic odors. Persistence is the important thing after a deep cleansing. You’ll have to funds 1 to 4 days to your sneakers to completely dry.
Air dry – It’s this simple: depart your boots indoors at room temperature till they’re dry. Place them on a shoe rack or a location with good air flow to stop stagnant air or smells.
Paper towels – Stuff bunched-up paper towels or newspaper inside moist sneakers to soak up extra moisture for the primary half-hour of drying. Make sure the paper isn’t so tightly packed that there’s no airflow. After half an hour, take away and discard the paper towels.
Shoe bushes – We suggest utilizing a pair of cheap shoe bushes to carry your climbing boots or sneakers open as they dry. Shoe bushes assist keep footwear’s pure form by means of the heel and toe.
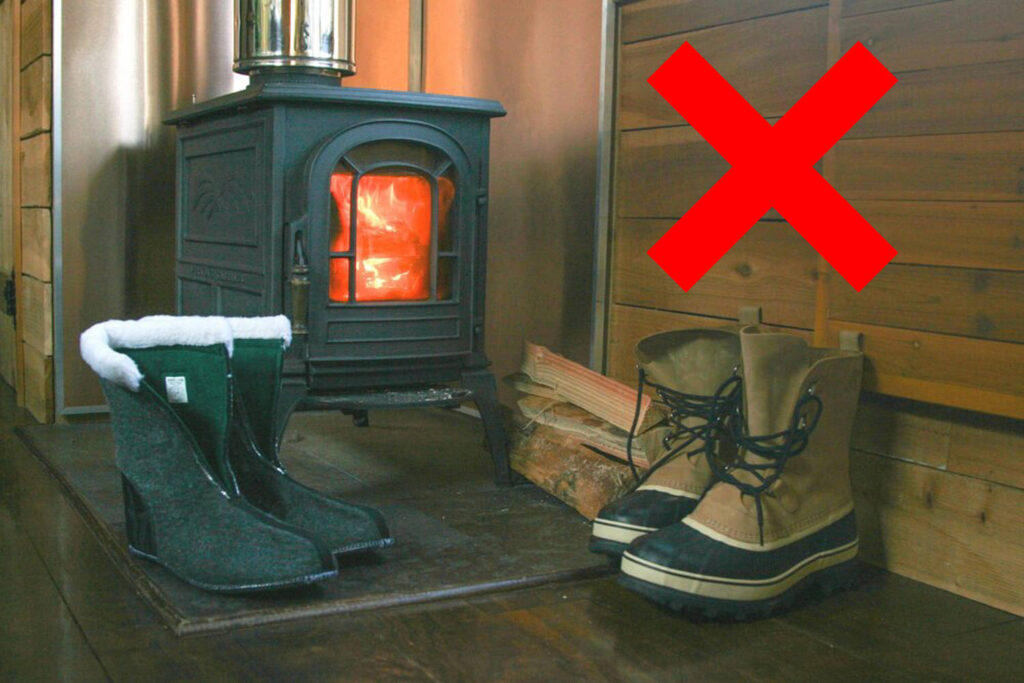
No warmth – Keep away from utilizing warmth to dry your climbing boots or sneakers. By no means dry your footwear close to radiators, on prime of heaters, or subsequent to a hearth. Direct, intense warmth sources can soften artificial materials, weaken adhesives, and result in cracks and warping in leather-based. If the warmth supply is simply too intense, it could even distort the form of rubber soles and disfigure the lug sample.
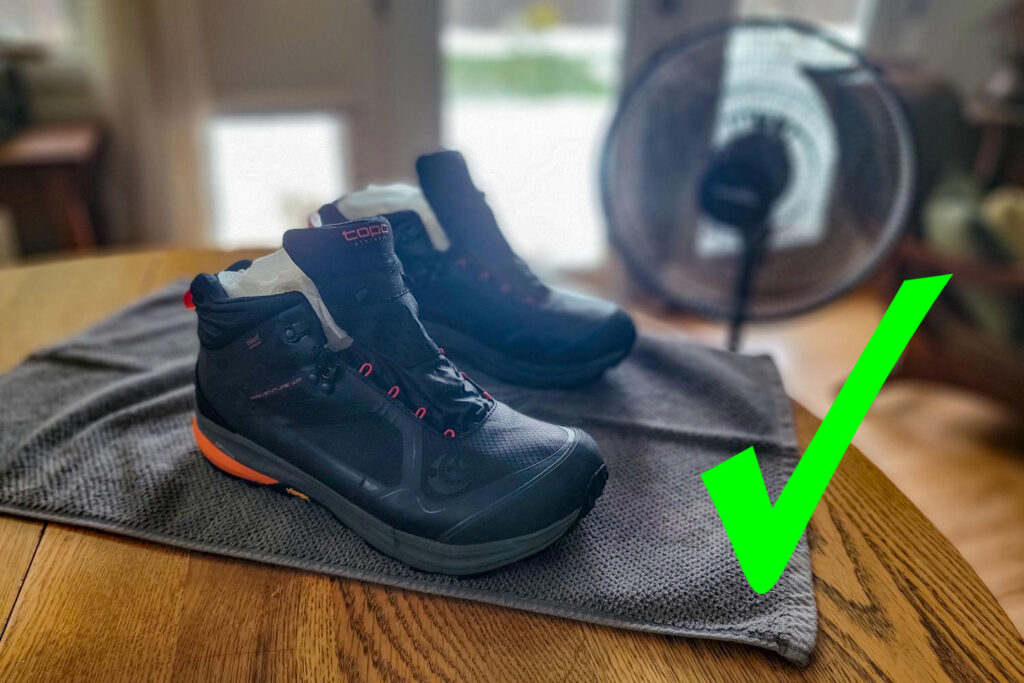
Fan or vent – To hurry up the method, place your sneakers close to a flooring fan on excessive, or 1 to 2 toes from an indoor vent. Further airflow will support the drying course of.
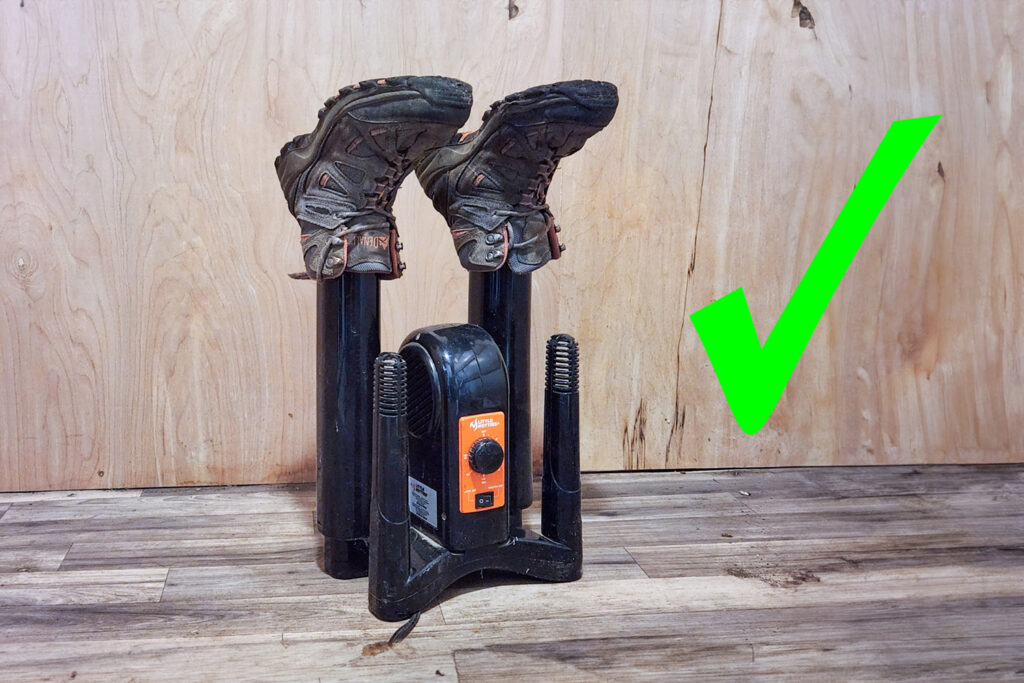
Boot dryer – To dramatically pace up drying instances, we suggest a dependable boot dryer. These units quietly blow lukewarm air into your boots with tiny followers for many air flow. Boot dryers can lower drying instances in half. That makes them best for repeatedly washing boots or for people who want dry boots for an journey the following day.
Combat the stink – When sneakers are midway achieved drying, contemplate these extra steps to stop lingering scents. We suggest:
- Vinegar – Vinegar is a strong deodorant that may kill fungus, micro organism, mildew, and different odor-causing microorganisms. Combine 1 half water to 1 half vinegar in a twig bottle, and frivolously spray the inside of the shoe earlier than it’s dry. Don’t soak the fabric. Go away the answer to air dry with the remainder of the shoe for a impartial, crisp scent afterwards.
- Baking soda – Baking soda also can deodorize your shoe because it dries, and can help with moisture absorption. For simple cleanup, we suggest just a few tablespoons of baking soda in a reusable pouch, espresso filter, or previous sock. Go away this small package deal within the boots till dry. Plus, you possibly can proceed utilizing these baking soda odor eliminators for weeks. Or in case you don’t thoughts the mess, sprinkle 1-2 tablespoons instantly into the shoe itself and shake to cowl the within of the shoe.
Storage Ideas
The way you retailer your most beneficial climbing gear is as essential as protecting it clear and maintained.
Cool and dry – Over time, direct daylight and excessive chilly or sizzling temperatures can weaken adhesives, compromise materials, and deteriorate rubber compounds. Hold your climbing boots in a cool, dry place like a closet or shoe rack.
Pests – If pests like rodents or bugs are a difficulty the place you reside, contemplate storing sneakers in a boot field or mud bag for a bit further safety – however by no means in a vacuum or compression sack.
Compression is dangerous – Boots saved with heavy objects on prime, or in a pile with different footwear, will lose their form. Compression can wreck the integrity of the supplies. Your boot was seemingly compressed if it has a smashed or lopsided look, doesn’t return to its preliminary form, or doesn’t match the way it as soon as did after a winter in a shoe pile. We suggest storing boots in an upright and open place and in a devoted place in your home. In the event you’re involved about your shoe dropping form, think about using cheap shoe bushes to stop your favourite hikers from turning into misshapen throughout storage.
Air is sweet – Moisture buildup is your climbing boots’ enemy. Keep away from storing boots in damp garages, sheds, or crawlspaces. To maximise air flow of the boot when not in use, take away insoles, loosen boot laces, and open the tongue so there’s airflow across the shoe.
Harm Management
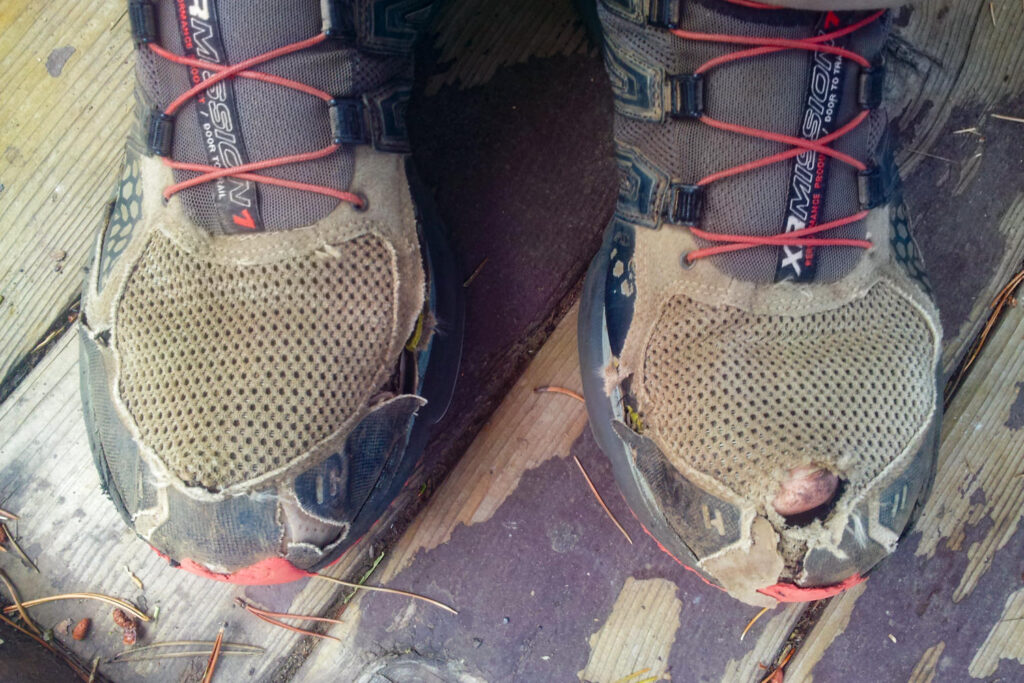
As soon as a month, we suggest assessing climbing sneakers for indicators of damage, harm, or separation from the uppers. Even essentially the most innocuous hike could cause surprising put on and tear. Common inspection prevents additional harm from roots and rocks.
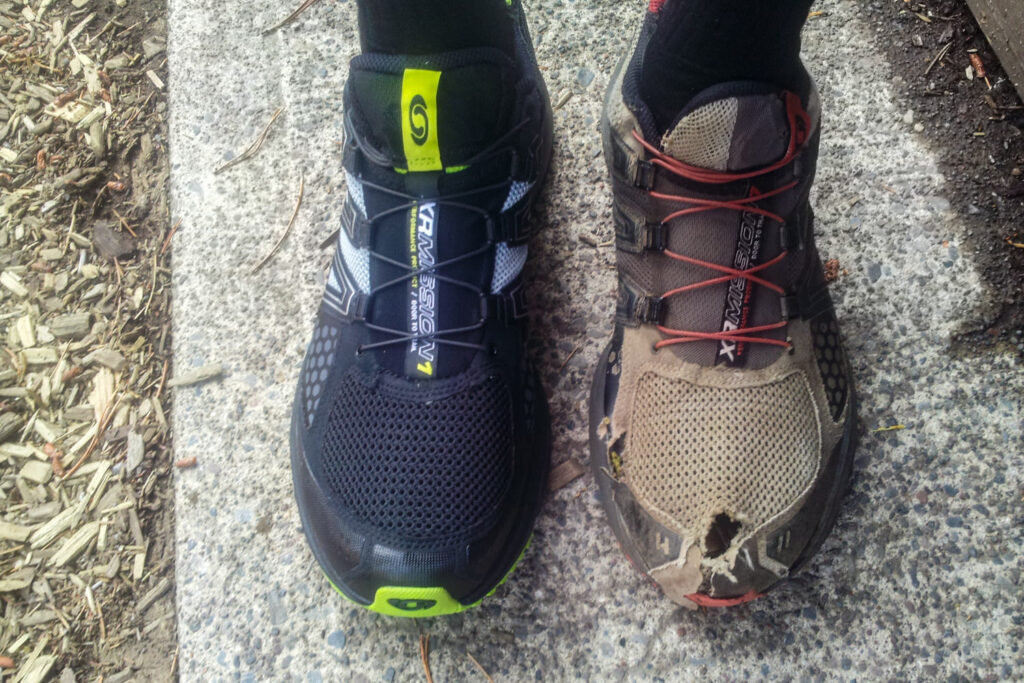
Harm to uppers – Usually, main tears and rips to the higher of a climbing boot are unrepairable. On a hike, you would possibly have the ability to carry out a short lived repair with duct tape, however we suggest at all times carrying a light-weight, high-quality gear material patch like Tenacious Tape. In the long run, you’ll want new sneakers.
Harm to soles – For harm on the soles of your footwear, we suggest a long-lasting sealant gel like Gear Assist Aquaseal SR. It is a tremendous robust adhesive that acts as a second pores and skin for worn soles. A robust sealant can briefly patch splits between the higher and the only real, re-seal a peeling toecap, or add life to blown tread lugs.
Worn soles – Don’t substitute, resole. Many manufacturers provide quick, reasonably priced, and efficient resoling providers. It is a nice possibility for sturdy sneakers the place the higher remains to be in fine condition, however the tread has worn down.
The Backside Line
Sustaining your climbing sneakers is essential. Fortunately, a fast wash and scrub will work wonders since muck, grime, and odors aren’t any match for a easy cleansing routine.
With the fitting merchandise and steps, cleansing your boots and sneakers could be simple and quick. An efficient cleansing schedule prevents harm and retains your footwear each micro organism and stink-free. Plus, it extends the lifespan of your favourite boots.
Cleansing your climbing sneakers is a small effort with an enormous payoff – so don’t procrastinate. It’s step one in direction of your subsequent nice outside journey.
Was this information useful for protecting your climbing boots clear and contemporary? Go away us a remark in case you have any suggestions, questions, or ideas. Or, go to us on Fb and Instagram to remain up to date with the most recent and biggest in climbing gear and present developments.
Remember to take a look at the CleverHiker Gear Information the place our group of consultants checks and opinions the very best outside journey gear available on the market – so that you don’t should. Listed below are different articles you would possibly like:
[ad_2]