

[ad_1]
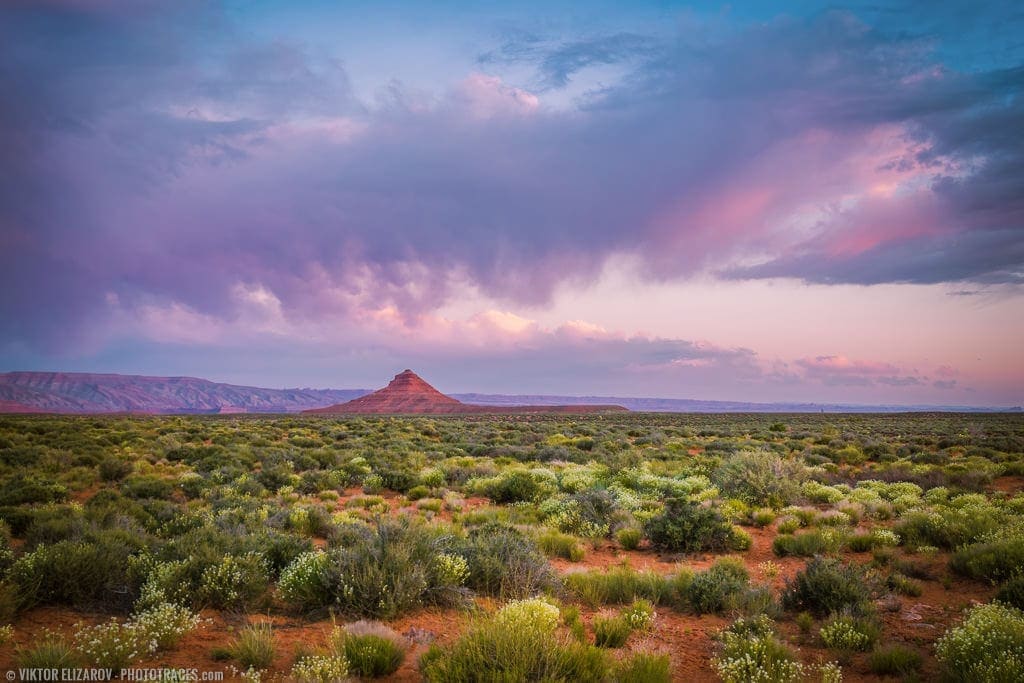
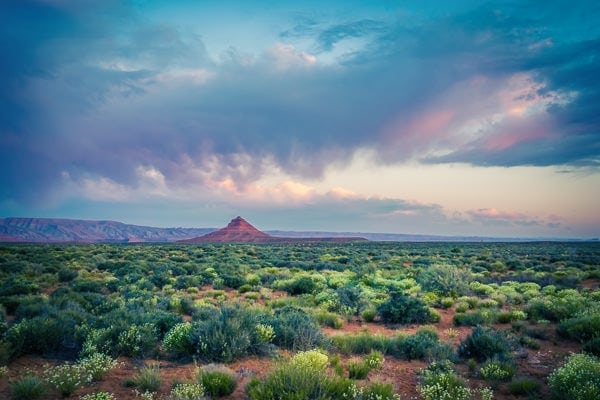
I took the featured picture a number of years again in Southern Utah once I was nonetheless capturing with Sony. The place known as the Valley of the Gods, and it’s positioned near Monument Valley and the 4 Corners Monument.
The place is gorgeous by itself and provides some unbelievable panorama alternatives. However I additionally use it as a strategic location throughout my travels.
The Valley of the Gods is huge and resided on public land, which suggests yow will discover free tenting spot even through the busiest vacationer season, and also you want no reservation. Priceless.
Taking pictures
The day I took the featured picture, I used to be driving alongside the 17mile dust street by means of the Valley of the Gods through the golden hour.
I saved stopping each few hundred meters to {photograph} the numerous landmarks of the valley. And on the finish of my drive when the solar already beneath the horizon and it was getting darkish, the sky all of a sudden was illuminated once more with the extraordinarily vibrant colours. I knew it was my final probability to seize golden hour colours.
The composition’s objective was to emphasise the patterns and textures of the vegetation of the desert within the foreground and the sky colours within the background.
Because it was getting darkish quick and I completely wanted a tripod to shoot at 1/6s and slower.
Enhancing & Processing
It was a single RAW processing workflow.
To course of the featured picture, I used my model new Journey Professional Package workflow.
The Journey Professional Package is a group of Lightroom presets, profiles, and modifying changes that help you edit images quick with out touching this system’s modifying instruments. In whole, the Journey Professional Package has 7 parts.
To study extra in regards to the Journey Professional Package’s parts, examine right here.
Lightroom (80%) – 15min
Step #1 – Composition
My first objective was to enhance composition.
I used the Crop Overlay device to make composition tighter. I saved the unique facet ration of three:2.
I additionally used the AUTO operate to straighten the horizon.

Step #2 – Preset Enhancing
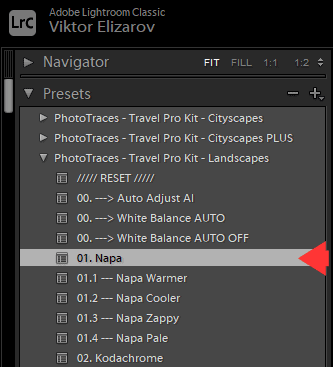
Subsequent, I moved to my customary preset primarily based workflow by making use of the 01. Napa preset from the Journey Professional Package – Landscapes Assortment to the unique picture.
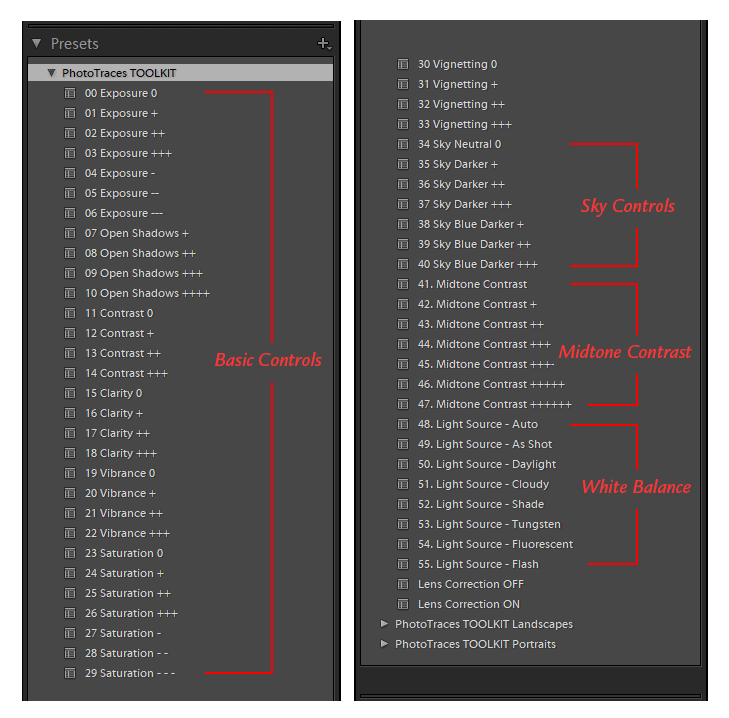
Step #3 – TOOLKIT Changes
Subsequent, I opened to the TOOLKIT and utilized the next changes:
10. Open Shadows ++++
20. Vibrance +
32. Vignetting ++
43. Midtone Distinction ++
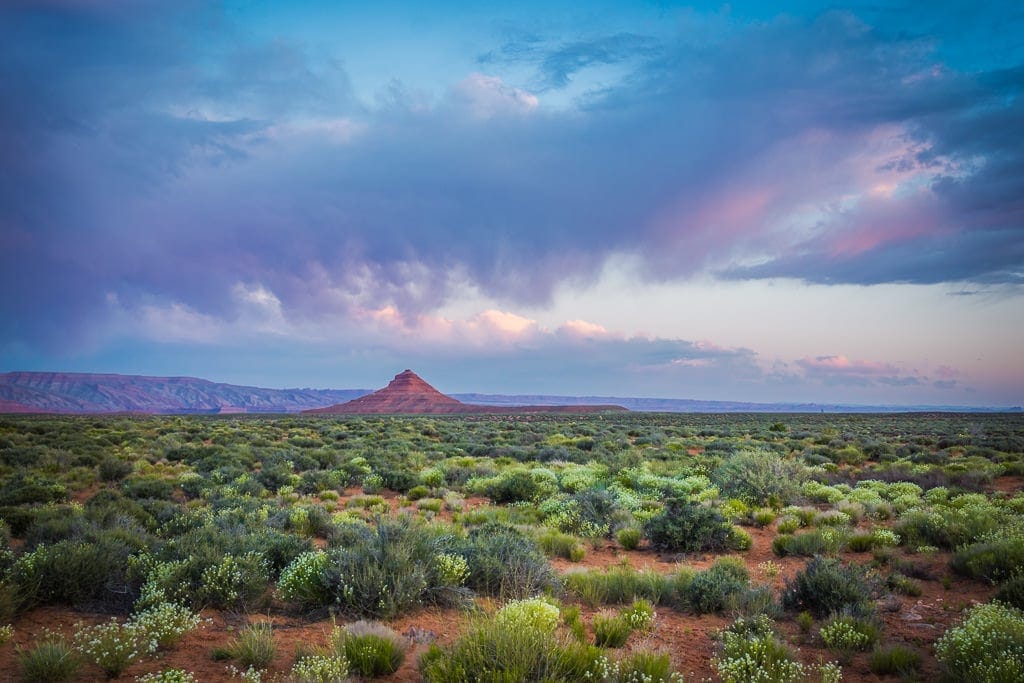
Beneath, you possibly can see the results of the modifying changes.
The Enhancing System: Napa (10, 17, 20, 32, 43)
The ultimate component I used throughout my modifying workflow was the Cross Professional Package.
Step #4 – Artistic Profile Enhancing
One of many 7 parts of the Journey Professional Package is the Cross Professional Package, which is the gathering of Artistic profiles. In case you are unsure what the Artistic Profiles are, examine my in-depth article right here: Demystifying Lightroom Profiles
You may entry the Cross Professional Package from within the Primary Panel by clicking the Profile Browser icon (see picture beneath).
Inside the Profile Browser panel, I positioned the PhotoTraces – Cross Professional Package part and prolonged it.

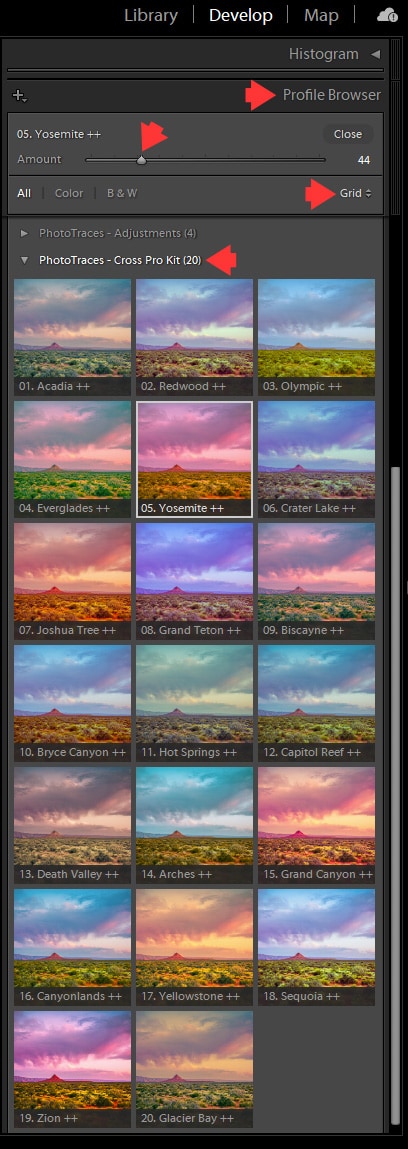
One of the crucial vital benefits of the Profiles is the flexibility to regulate their modifying results by transferring the Adjustment slider to the left or proper. It acts as an Opacity performance (see picture above).
I began clicking by means of the completely different Profiles looking for visually interesting variations. I used the AMOUNT slider to regulate the power of the consequences.
-
Profile: Acadia 66% -

Profile: Yosemite 44%
-

Profile: Arches 66% -

Profile: Biscayne 55%
And my favourite modifying model was Yosemite Profile dialed right down to 44%.
To summarize the Journey Device Package modifying workflow:
- I utilized the Napa preset from Panorama assortment.
- I used the next changes to fine-tune the picture: Open Shadows ++++, Vibrance+, Vignetting ++, Midtone Distinction ++
- I used the Yosemite Profile from the Cross Professional Package at 44% opacity.
Photoshop (20%) – 5min
Step #5
In Photoshop, I used the Spot Removing device to wash up the foreground by eradicating visually damaging particles.
And eventually, I used the Topz DeNoise AI plugin to cut back digital noise.
And that was it.
Earlier than & After Transformation
[ad_2]