

[ad_1]
Are you struggling to find out the greatest digital camera settings for dawn and sundown? Do you need to seize beautiful morning and night landscapes?
You’ve come to the precise place. On this article, we’re going to elucidate every thing you want to learn about dawn/sundown digital camera settings, together with:
- The important thing aperture vary for dawn/sundown images
- One of the simplest ways to focus when taking pictures dawn/sundown landscapes
- A easy approach for constantly nailing the proper publicity
- A lot, way more!
So to turn into a grasp of dawn and sundown images, learn on, beginning with a fast rundown of our favourite settings:
Greatest Digicam Settings for Dawn and Sunsets
- Publicity mode: Aperture Precedence (AV, A)
- Aperture: f/8-f/13
- ISO: 100 (or your base worth)
- Focus mode: Single-point AF
- Focus one-third into the scene
- Use back-button focus
- Focal size: 15-30mm
- Picture high quality: RAW
- White steadiness: Auto
In fact, the settings listed above gained’t work in all conditions – however they’ll do an incredible job for a majority of your dawn and sundown panorama pictures.
For a extra detailed rationalization of the perfect dawn and sundown settings, in addition to a dialogue of why dawn and sundown is so nice for landscapes, proceed on beneath.
Why Dawn and Sundown Is the Greatest Time for Panorama Images
Panorama photographers love dawn and sundown. It’s how they constantly seize stunning, golden, dramatic photographs.
However why are dawn and sundown – also called the golden hours – so particular for images?
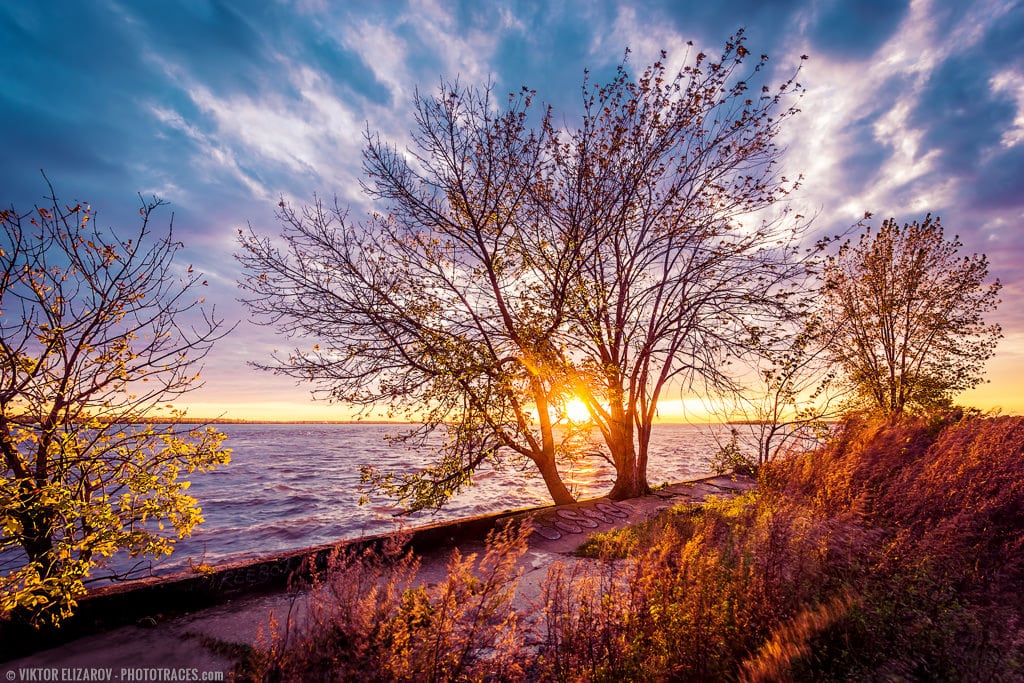
For one, the golden hours simply look unbelievable, because of the frequent sky drama, the low solar, and many others.
However the high quality of early-morning and late-afternoon mild can be higher for images. It has to do with the gap daylight travels at noon versus dawn/sundown. A noon sunbeam travels straight down, passing by round 11 miles of Earth’s environment earlier than hitting your topic. Whereas a dawn or sundown sunbeam comes at your topic from a low angle, touring by 200 miles of environment.

This issues as a result of the environment filters and diffuses the sunshine. When you can learn extra about golden hour mild in one other article, know that the filtering and diffusion course of produces mild that’s each comfortable and heat.
And comfortable, heat mild? It appears to be like unbelievable in panorama images.
Important Challenges of Taking pictures Sunrises and Sunsets
Whereas sunrises and sunsets provide beautiful panorama images alternatives, they’re not at all times the best to {photograph}.
Listed here are the 2 fundamental challenges confronted by panorama photographers:
- Balancing an ultra-bright sky with a darkish foreground
- Sustaining an optimum publicity as the sunshine modifications
The primary problem – balancing your publicity – might be managed however requires exact digital camera settings. You can even use a bracketing approach, as I talk about beneath.
The second problem is tougher to deal with. It’s good to grasp a number of totally different publicity strategies and be prepared to regulate your settings with the altering mild. As an example, taking pictures throughout the brighter a part of the golden hours – at the start of sundown and on the finish of dawn – requires you to handle important distinction. Whereas taking pictures throughout the darker a part of the golden hours – on the finish of sundown and at the start of dawn – requires an understanding of night time images settings.
Dawn vs Sundown Images
You is perhaps questioning:
Are dawn and sundown primarily the identical (i.e., from a settings perspective)? Or must you method them otherwise?
On the subject of publicity and focusing, dawn and sundown are an identical; the sunshine simply proceeds in numerous instructions.
Nevertheless, there are sensible benefits to taking pictures at dawn or at sundown:
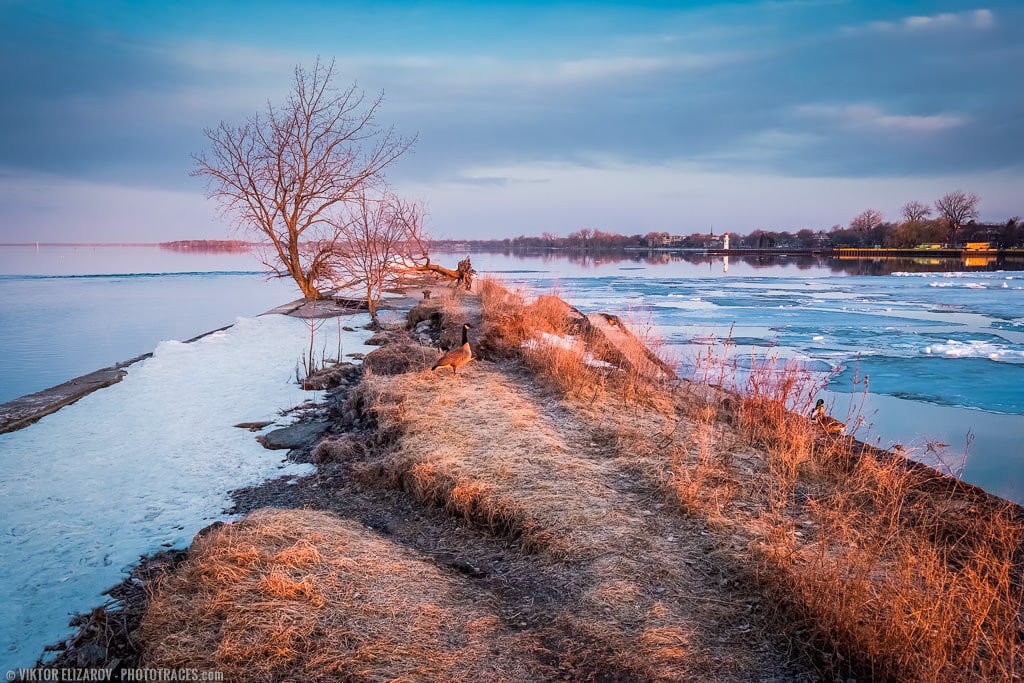
Dawn Images Benefits
Whereas sundown areas might be fairly crowded, in case you head out at dawn, you’ll typically have the entire place to your self. It is a main profit at fashionable photographic spots as a result of a) you gained’t must take care of individuals in your photos, and b) you’ll be capable to put down your tripod wherever you want.
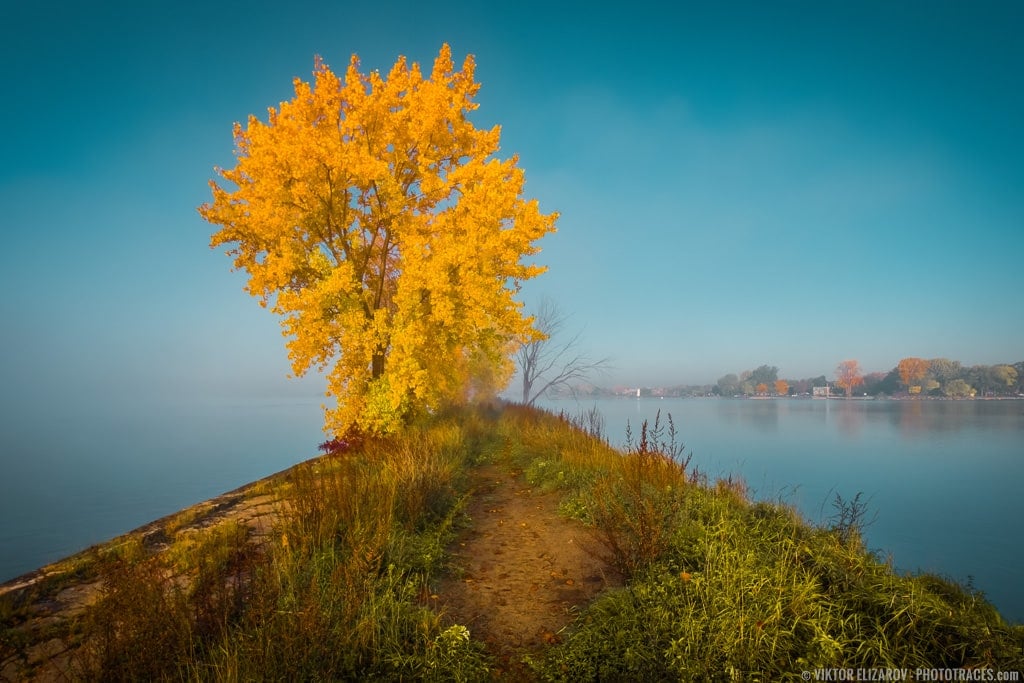
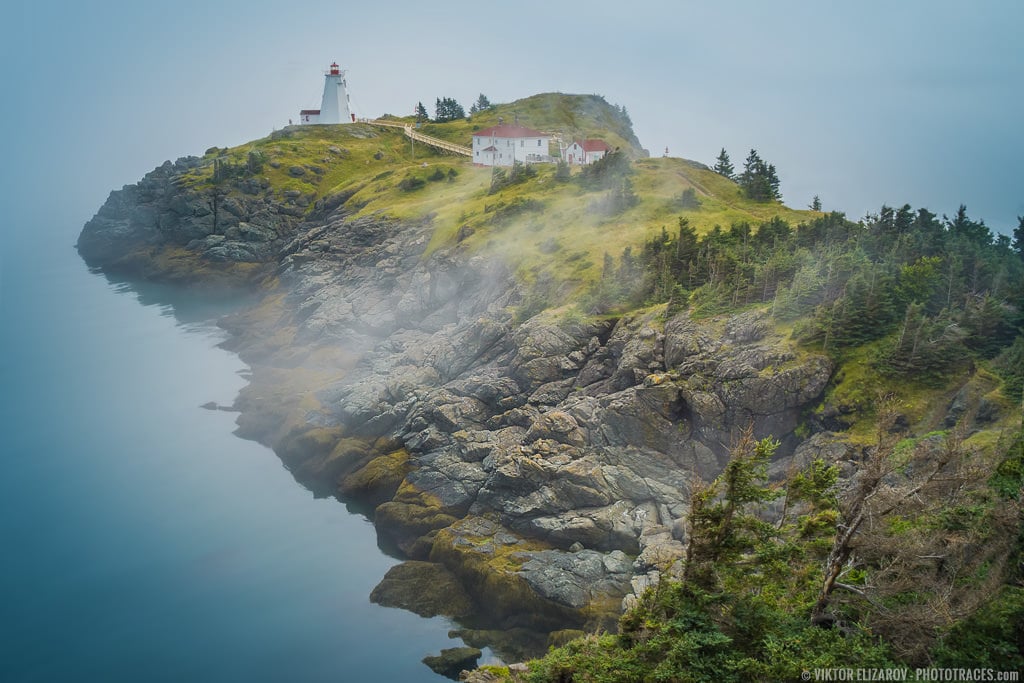
Dawn additionally tends to supply a clearer sky, or – in case you’re fortunate! – you would possibly find yourself with some morning fog, which makes for splendidly atmospheric pictures.
Sundown Images Benefits
It’s true that dawn presents extra compositional flexibility, nevertheless it additionally comes with a significant drawback:
You must head out in the dead of night. And also you typically must compose in the dead of night to nail your first dawn pictures.
You’ll be able to attempt to discover compositions in the dead of night, nevertheless it’s fairly powerful. So that you’ll both must shoot blind for the primary jiffy of dawn – and danger lacking out on unbelievable photographs – otherwise you’ll must scout days prematurely, which might be inconvenient or unimaginable, relying on the state of affairs.
That’s the place sundown images is available in. As a result of you might have all afternoon to seek out and fine-tune your compositions, and also you don’t have to fret about stumbling round in the dead of night.
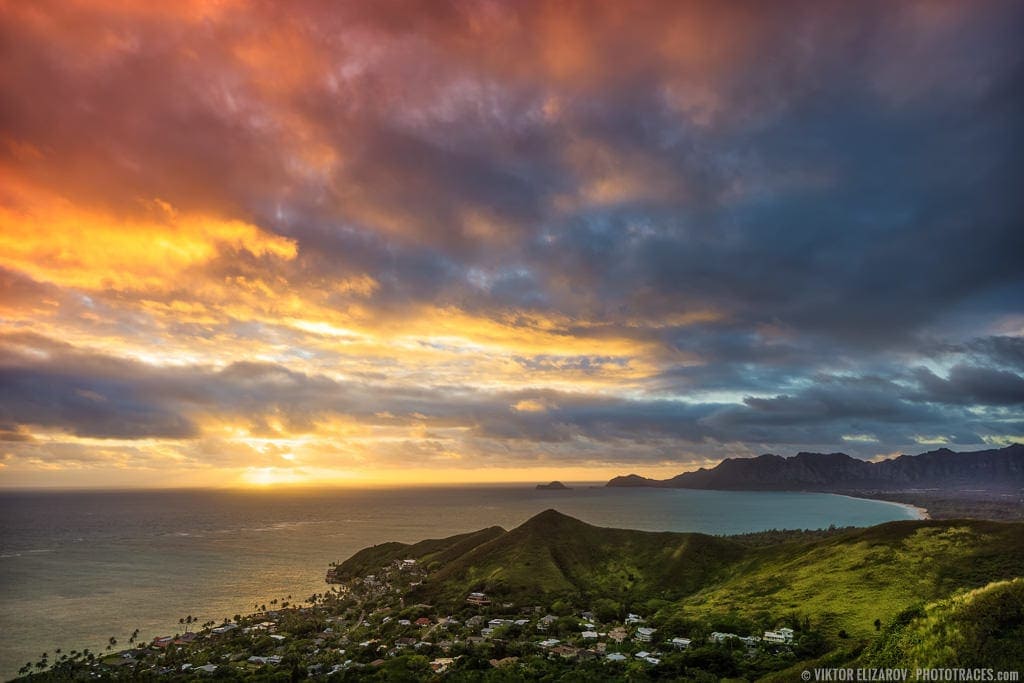
Additionally, sundown skies might be extra dramatic in comparison with dawn skies, plus – and for some photographers, this can be a huge one – you get to sleep!
The best way to Set Your Digicam for Sunrises and Sunsets
So that you’ve reached a dawn or sundown location. What now? How must you method the shot?
Right here’s what we suggest:
A Tripod Is Important
Panorama images is mostly greatest performed at slim apertures. And the narrower the aperture, the longer you’ll must make your shutter pace – which requires a tripod for sharp pictures.
Towards the start of sundown and on the finish of dawn, you would possibly be capable to get away with handheld taking pictures, particularly in case your digital camera or lens has picture stabilization. However you’ll nonetheless need to have a tripod readily available for when the solar will get low within the sky.
At all times Shoot in RAW
RAW or JPEG? It’s a typical query – however in the case of dawn and sundown digital camera settings (or panorama images settings extra typically), RAW is the best way to go.
As mentioned in our in-depth article on the topic, RAW presents essentially the most modifying flexibility, plus it captures the broadest dynamic vary (which is a big deal when photographing excessive dynamic vary scenes like sunrises and sunsets).
Additionally, in case you shoot in RAW, you don’t have to fret concerning the white steadiness. Simply set it to Auto and take care of it in post-processing. You gained’t lose any high quality, and it’s one much less factor to consider when taking pictures.
Rigorously Set Your Publicity
Today, it’s straightforward to show with a one hundred pc success charge – the place you seize most element with zero clipped highlights or shadows.
Right here’s how:
1. Set Digicam to Aperture Precedence Mode
First, set your digital camera to Aperture Precedence mode. You’ll be able to select the aperture and ISO, your digital camera will select the shutter pace, and also you’ll be capable to regulate your outcomes through the Publicity Compensation dial.
2. Lock Publicity
Subsequent, level your digital camera towards the scene you need to {photograph}. Press the AE-L button to lock the publicity.
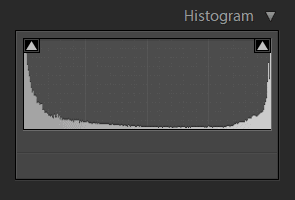
3. Activate Histogram
Convey up the histogram in your LCD or EVF.
4. Use Publicity Compensation
Then slowly enhance the publicity (with the Publicity Compensation dial), till the picture is as vibrant as attainable with out clipping any highlights. This may cut back noise whereas sustaining most element.
Then take your shot
5. Regulate Publicity Throughout Submit Processing
However don’t be involved if it appears to be like overexposed. You’ll merely want to scale back the publicity throughout post-processing, and also you’ll find yourself with a high-quality consequence!
The approach I take advantage of is also called “Publicity to the Proper.”
Optionally available Setting: Auto Publicity Bracketing
A fast notice:
Dawn and sundown scenes are inclined to characteristic intense highlights and shadows, which may exceed the dynamic vary of your digital camera sensor and result in clipping – irrespective of how fastidiously you comply with the suggestions given above.
So whenever you pull up the histogram, if you see clipping in each the highlights and shadows, change your digital camera over to Auto Publicity Bracketing. Once you get again house, you are able to do an HDR merge in Lightroom.
Set Your Focus and Aperture to Maximize Depth of Subject
In panorama images, a deep depth of discipline is important; you typically need the foreground, the midground, and the background sharp with zero out-of-focus areas.
However how do you do that?
By following three tips:
- Choose the precise aperture
- Focus in the precise place
- Use a wide-angle focal size
Let’s go over every in flip:
The Greatest Aperture for Taking pictures Sunrises and Sunsets
Bear in mind: Narrower apertures produce a deeper depth of discipline (which is what you need in landscapes).
And also you must also maximize picture high quality by maintaining the aperture in your lens’s candy spot (as defined in this text).
So for sunrises and sunsets, you’ll need to maintain your aperture within the f/8 to f/13 vary. It combines deep depth of discipline and top-notch picture high quality for beautiful outcomes.
Focus Settings
By focusing the proper distance into the scene, you’ll be able to maximize depth of discipline to maintain each a part of your photograph sharp.
We suggest utilizing single-point autofocus, however change your digital camera over to back-button focus; that manner, you’ll be able to regulate focus and fireplace the shutter independently.
Then, put your focus level one-third of the best way into the scene. Assuming you’ve chosen a sufficiently slim aperture, this may get you foreground-to-background sharpness about 90% of the time.

For scenes requiring even larger accuracy, you should use the hyperfocal distance, a posh however extremely helpful idea.
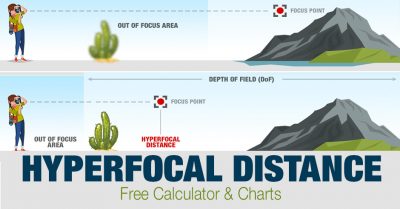
(Be aware that you just gained’t want to hold a chart or use an app to calculate the hyperfocal distance. As a substitute, simply memorize distance values on your fundamental wide-angle lens, and also you’ll be good to go.)
Use Large-Angle Lenses
The broader your focal size, the deeper the depth of discipline.
So whereas you should use any focal size for dawn and sundown images, we suggest going with a wider-angle lens (within the 10-20mm vary on APS-C cameras and the 15-30mm vary on full-frame cameras).
Greatest Digicam Settings for Dawn and Sunsets : Conclusion
Let’s summarize the perfect setting for taking pictures sunrises and sunsets.
- Scout the placement. You’ll be able to scout the sundown location on the identical day of taking pictures. To scout the dawn location, you want to do it prematurely.
- Use a sturdy tripod.
- Shoot in RAW format.
- Set your digital camera to Aperture Precedence mode.
- Use base ISO (lowest attainable)
- Use the histogram to judge publicity (don’t belief LCD or your personal eyes).
- Observe the “Publicity to the Proper” approach for getting the proper publicity with each shot.
- Set autofocus to Single-point AF
- Focus one-third into the scene to maximise depth of discipline. In the end you should use a extra superior approach, “hyperfocal distance.”
- In case you shoot RAW, you would not have to fret about White Stability as a result of it may be adjusted after the actual fact.
- Use wide-angle lenses.
Selecting the perfect digital camera settings for dawn and sundown images may appear troublesome, nevertheless it doesn’t must be.
By following the suggestions we’ve given, you’ll constantly nail your publicity and focus. And also you’ll find yourself with beautiful outcomes!
Articles Associated to “Greatest Digicam Settings for Dawn and Sundown“
[ad_2]