

[ad_1]
What’s vibrance vs saturation?
In the event you’ve carried out any form of enhancing in your images, whether or not it’s through Photoshop or perhaps a fundamental cellphone editor, you’ve probably encountered the phrases “vibrance” and “saturation.

These two pictures phrases could seem to imply the identical factor, however they’re, in truth, very different- and understanding what every means is vital for enhancing footage successfully.
What’s Saturation in
Images?
The time period ‘saturation’ typically describes the extent at which one thing is absorbed. For instance, a sponge is closely saturated with water.
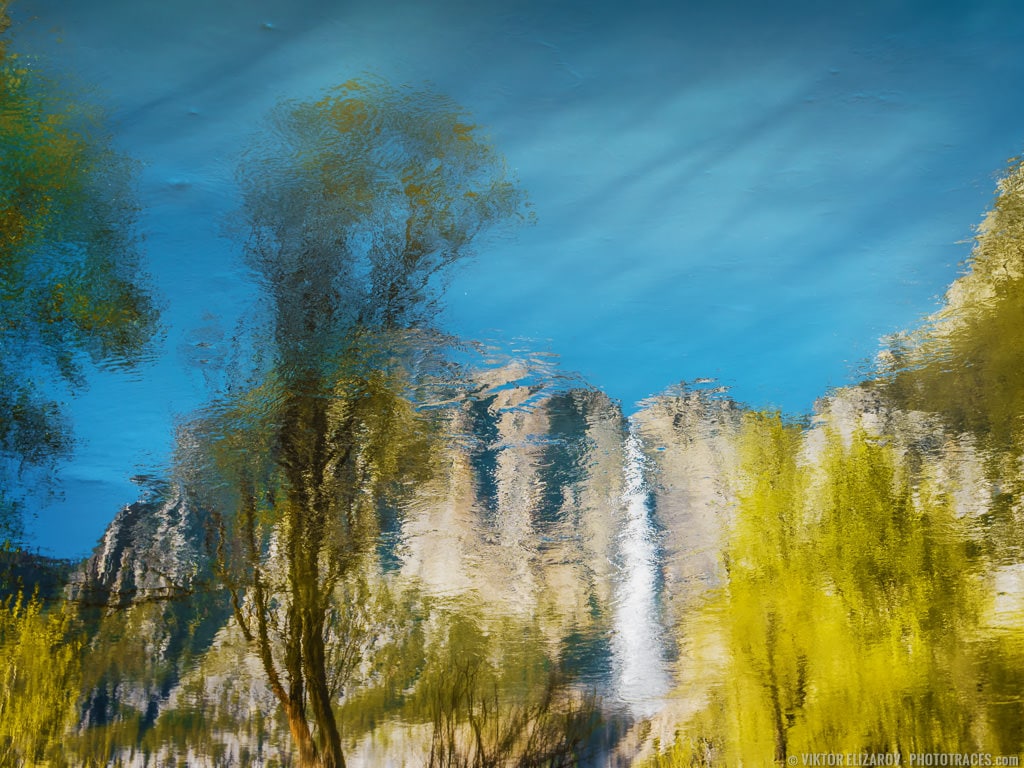
In pictures, saturation refers to how pure a colour is. How purple is the purple? How blue is the blue? You may think about colour being “absorbed” within the {photograph} like a sponge, with a better saturation leading to a extra vital colour.
A saturated purple will probably be deep and true, whereas a
desaturated purple will probably be fairly grey and boring.
Cameras and lenses function on gentle. On a
technical stage, saturation is definitely only a description of how intense or
boring the sunshine of a particular frequency or wavelength is coming from a lightweight
supply. That is truly why the colour
of an object adjustments as its gentle supply adjustments, regardless of the item all the time
having the identical colour.
What’s Vibrance in Images?
When one thing is vibrant, that implies that
one thing is shiny and putting. Though vibrance is an actual phrase (as any
dictionary can attest)- with regard to pictures, vibrance doesn’t truly
exist!
Wait, what? How can vibrance not be actual?
It’s true. Vibrance isn’t an actual idea in
pictures. Vibrance was truly invented by the corporate Adobe, the
masterminds behind the industry-standard enhancing packages Photoshop and
Lightroom.
Saturation could be decided via mathematical formulation and science as a result of it’s an precise property of sunshine, however vibrance can’t actually be measured. Nevertheless, Adobe created the time period vibrance to differentiate between the 2 sliders the corporate developed, the Saturation slider and the Vibrance slider.
When excited about packages from a pc vantage level, there wanted to be a solution to enhance the saturation of a colour with out altering the colour itself. From Adobe’s personal description:
“Vibrance adjusts the saturation in order that clipping is minimized as colours strategy full saturation. This adjustment will increase the saturation of less-saturated colours greater than the colours which might be already saturated. Vibrance additionally prevents pores and skin tones from turning into oversaturated”.
Adobe
In a approach that may be understood simply,
vibrance is a sort of ‘good’ saturation that adjusts colours in a different way from
the normal saturation slider. Vibrance adjusts the extra muted colours
moderately than intensifying the already saturated colours.
To conclude these definitions, saturation in
photograph enhancing adjusts the entire pixels in {a photograph} whereas vibrance solely
adjusts the muted pixels in {a photograph}. Pixels are the tiny little squares or
dots of colour (image components) that when put collectively make a whole
image.
The Significance of Vibrance vs Saturation and Colours
Colour principle is a really attention-grabbing and vital idea in pictures. Colour principle refers to how colour impacts the psychology of individuals. Every colour has the capability to carry out a particular response from whoever appears to be like at that colour. For instance, shiny purple tends to be an thrilling colour whereas gentle blue is calming.
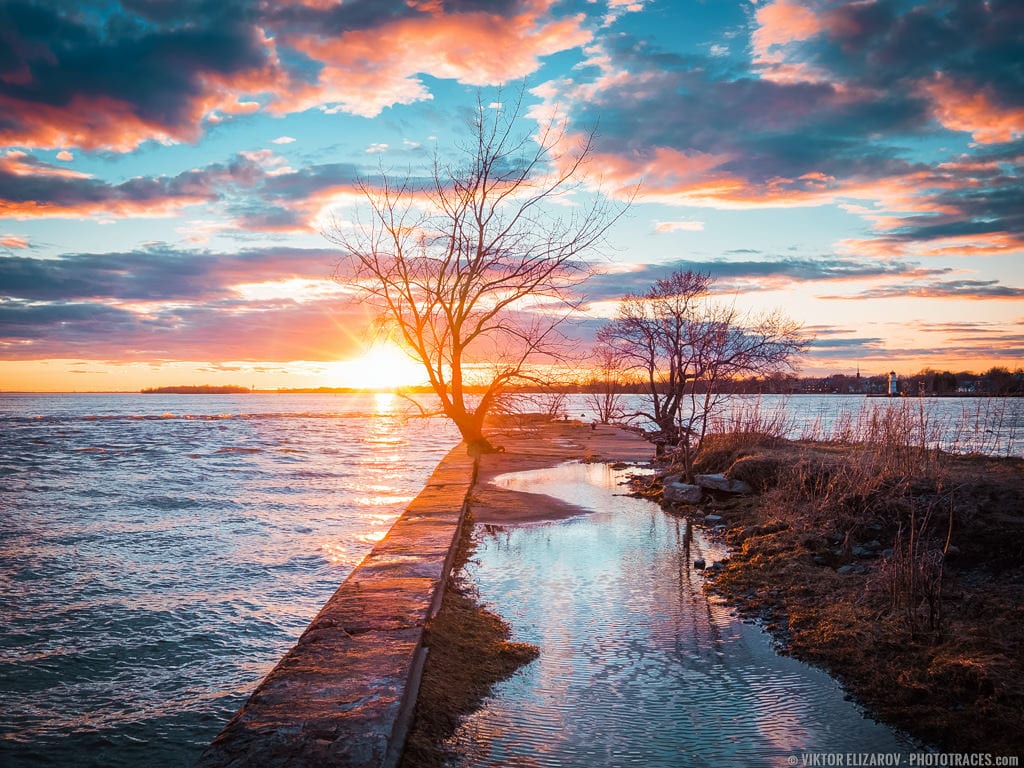
The colours you utilize in your pictures will affect how a viewer interprets your work. In the event you make the colours too saturated with a moody image or lack vibrancy for an thrilling image, your viewers received’t be capable of perceive your {photograph} as a result of the colours are counterintuitive to the subject material.
Associated: Utilizing Superior Masks in Lightroom
With the ability to correctly gauge find out how to use
vibrance vs saturation in your enhancing course of could make or break your
pictures profession.
The essential tips you possibly can maintain on to are
these:
Photographs of material that’s imagined to
incite happiness, constructive empathy, or power needs to be pretty saturated and
vibrant.
Photographs of topics which might be imagined to be
moody, unhappy, heartbreaking empathy, or peaceable are much less saturated and fewer
vibrant.
3 Ranges to Management Saturation in
Your Photographs
There are three key methods to regulate the saturation in your images: the saturation slider, vibrance slider, and HSL Panel.
Though Adobe pioneered saturation, HSL panels, and vibrance sliders, these are typically prevalent in different enhancing packages too. So the next data on three totally different strategies of controlling saturation isn’t unique to Photoshop or Lightroom.
1. Saturation Slider
The saturation slider impacts the entire colours in a picture evenly till they’re pure in tone. In the event you even faucet the saturation slider slightly bit you’ll discover how rapidly colours can intensify. Moderation is essential right here! Pulling to the left makes colours extra grey, pulling to the fitting brings them nearer to their most true colour.
Associated: Tips on how to Retoche Portraits in Lightroom
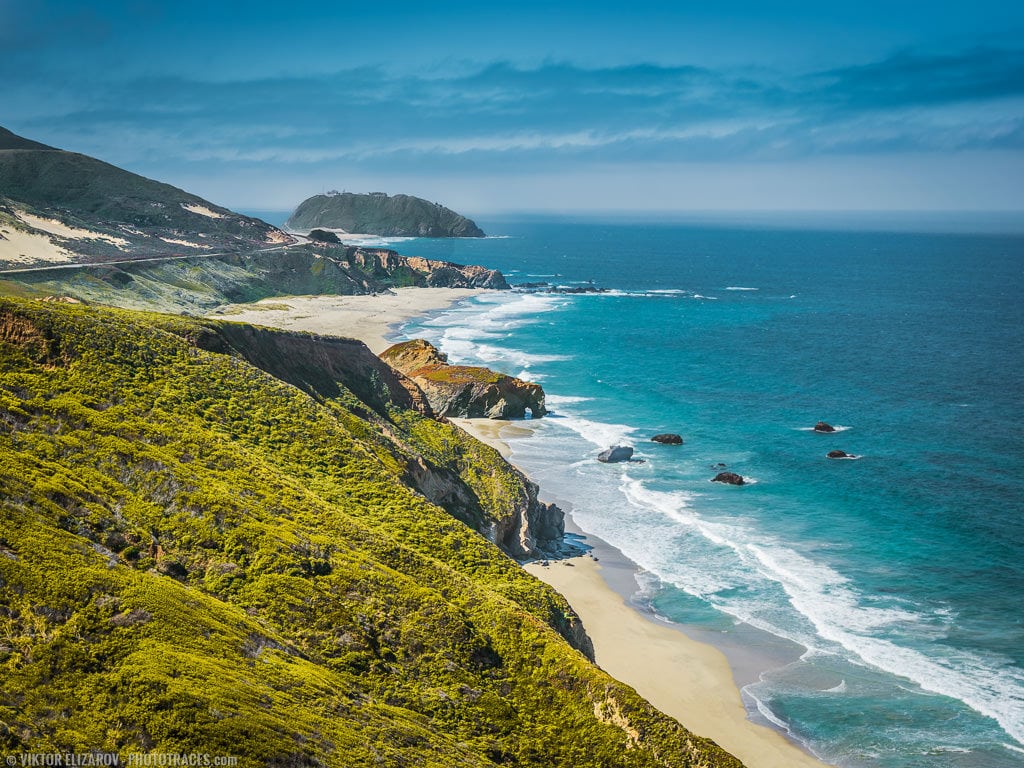
Saturation slides are wonderful for nonetheless life images and landscapes, as there may be much less probability that adjusting the entire colours on the identical time, in the identical approach, will make a picture look too synthetic. For photos that contain individuals or pure colours, saturation can in a short time make pores and skin tone look clown-ish.
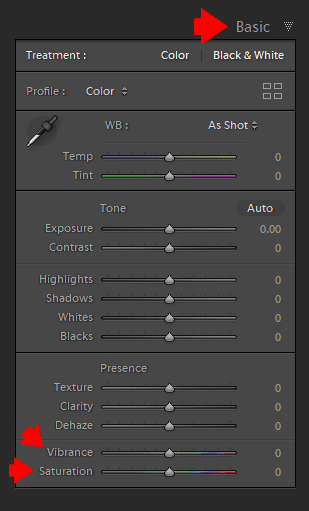
2. Vibrance Slider
The vibrance slider, as talked about earlier than, solely tends to accentuate the muted colours in {a photograph}. It takes so much longer for the vibrance slider to make a picture look too phony or garish. I all the time begin with the vibrance slider to a minimum of even the depth of colours out earlier than making saturation changes. Very similar to saturation, pulling to the left lowers the vibrancy and pulling to the fitting will increase the vibrancy.
3. HSL Panel – Selective Saturation
HSL stands for “Hue, Saturation, and Luminance” and is a panel field in Adobe Lightroom (with related panels in different packages). I prefer to say that that is the panel that adjusts every of the colours individually. Every slider is split by colours: purple, orange, yellow, inexperienced, aqua, blue, purple, and magenta.
The Hue is the shade of a colour on a gradient. In technical phrases, the hue is the wavelength of the sunshine mirrored. This describes why an object that’s one stable colour can change its colour depending on the sunshine or the quantity of sunshine that hits it. On the HSL panel, the hue can change how particular colours look. For instance, the reds could be made to be extra orange in colour or extra purple.

Saturation on the HSL panel determines how intense a colour is. Pulling the slider to the left makes the colour extra grey; pulling the slider to the fitting makes it extra true.
Examine my Lightroom Workflow Tip #3 – Tips on how to Use Selective Saturation
Luminance lightens or darkens a particular colour. Luminance refers back to the reflective brightness of colours. I take advantage of this slider so much to make sure colours darker. The commonest use of Luminance sliders is to make blue colour of the sky darker.
How Do You Decide Whether or not to
Use Saturation or Vibrance?
If you should do a extremely fast edit, you possibly can
rapidly decide whether or not saturation or vibrance is greatest in your picture.
If the entire colours within the {photograph} are
fairly even of their depth (or lack thereof), then saturation is greatest.
If in case you have colours or tones in a picture which might be all totally different intensities OR would look incorrect if enhanced an excessive amount of, vibrance is the best way to go. Often, you’d use the 2 sliders in unison, although, as you might discover that you really want the depth of the brilliant colours lowered a bit whereas mentioning the vibrancy of the much less intense colours. This may even your entire image out.
Distinction, Brightness, Highlights, and Shadows All Have an effect on Saturation and Vibrance
Photograph enhancing has extra sliders and changes
than simply saturation and vibrance. You could have distinction, brightness, and sliders
that management the lightness or darkness of shadows and highlights.
If you edit images, each change is an
particular person variable that impacts the remainder of the variables. For instance, when you
decrease your colour saturation or vibrance after which enhance the distinction, you’ll
discover that the colours grow to be vibrant and intense once more. Likewise, when you
enhance saturation or vibrance after which darken the picture, the colours grow to be
muted once more.
Take note of how your different edits have an effect on the
colours. I all the time recommend doing saturation and vibrance changes because the final
step for this very goal.
Saturation vs Vibrance | Ultimate Ideas
In conclusion, using saturation in pictures is essential. How you utilize it’s at your individual discretion, however fortunately photograph enhancing software program made this management a bit simpler for you by dividing colour depth changes into saturation and vibrance!
Articles Associated to “Vibrance vs Saturation: 3 Ranges to Management Colour Depth“
[ad_2]